
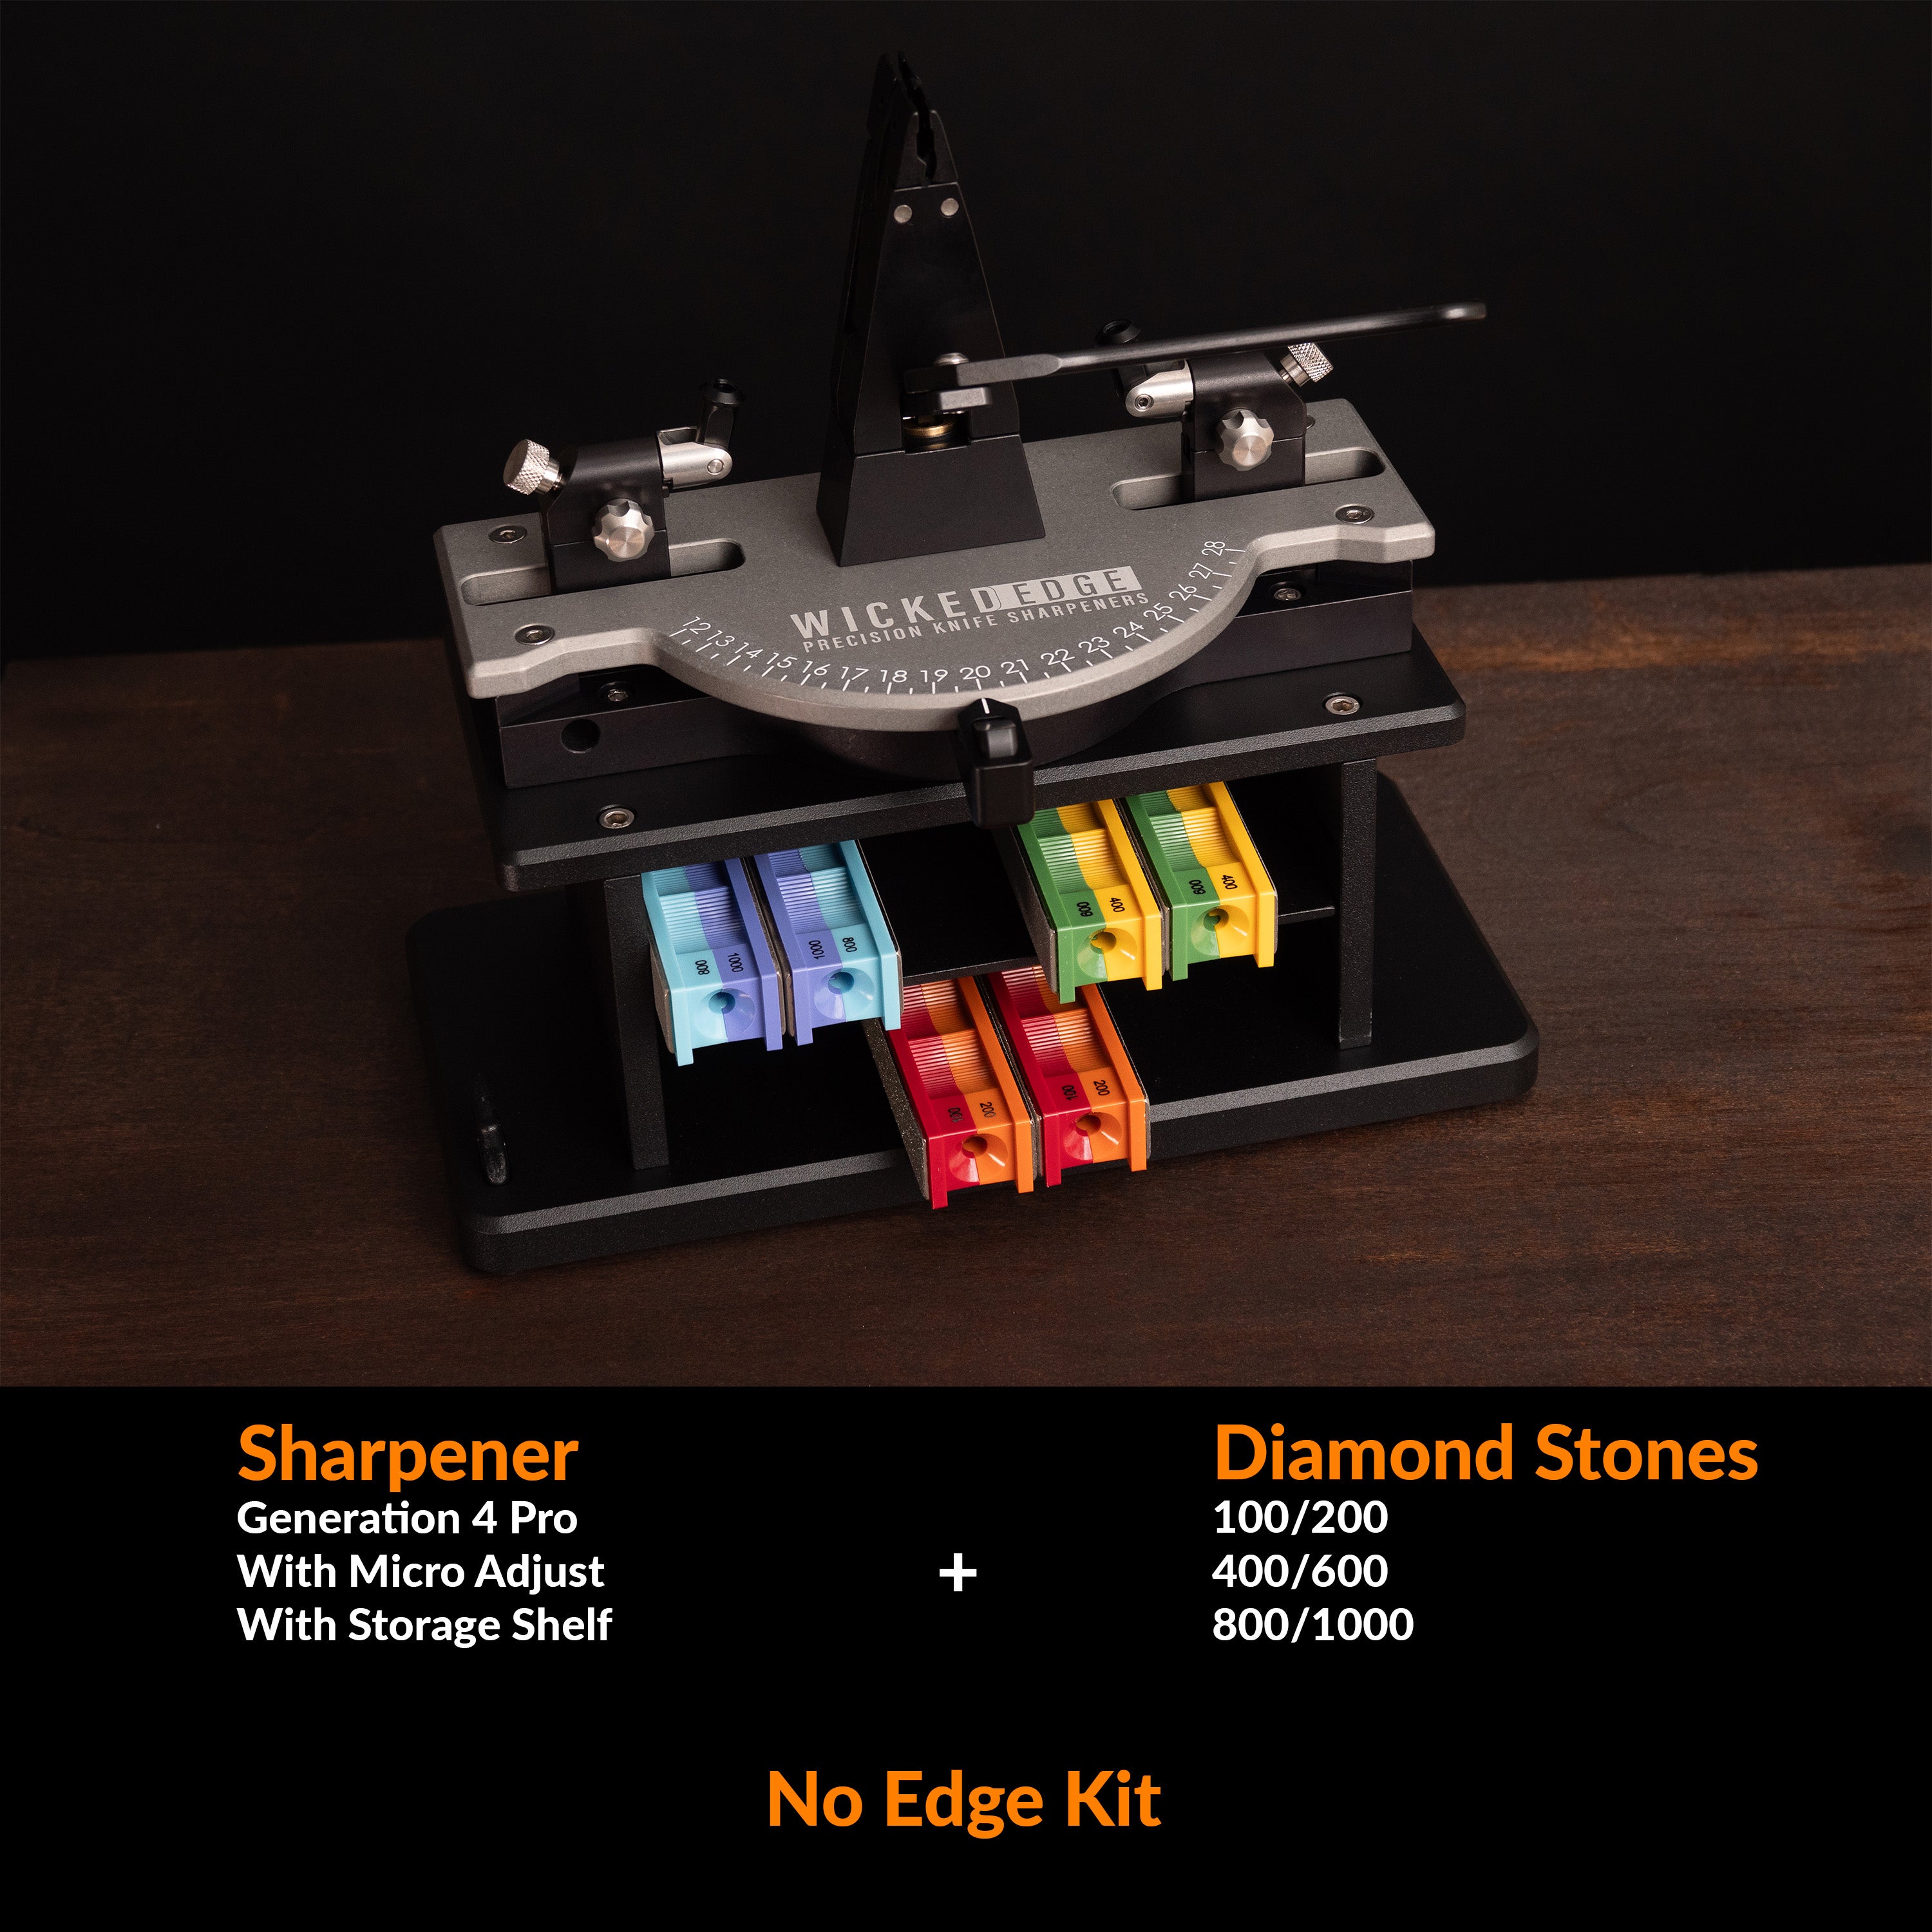
What Makes It the Best?
Wicked Edge combines over 15 years of experience, revolutionary design, and customer focus to bring you the sharpest results, time and again.

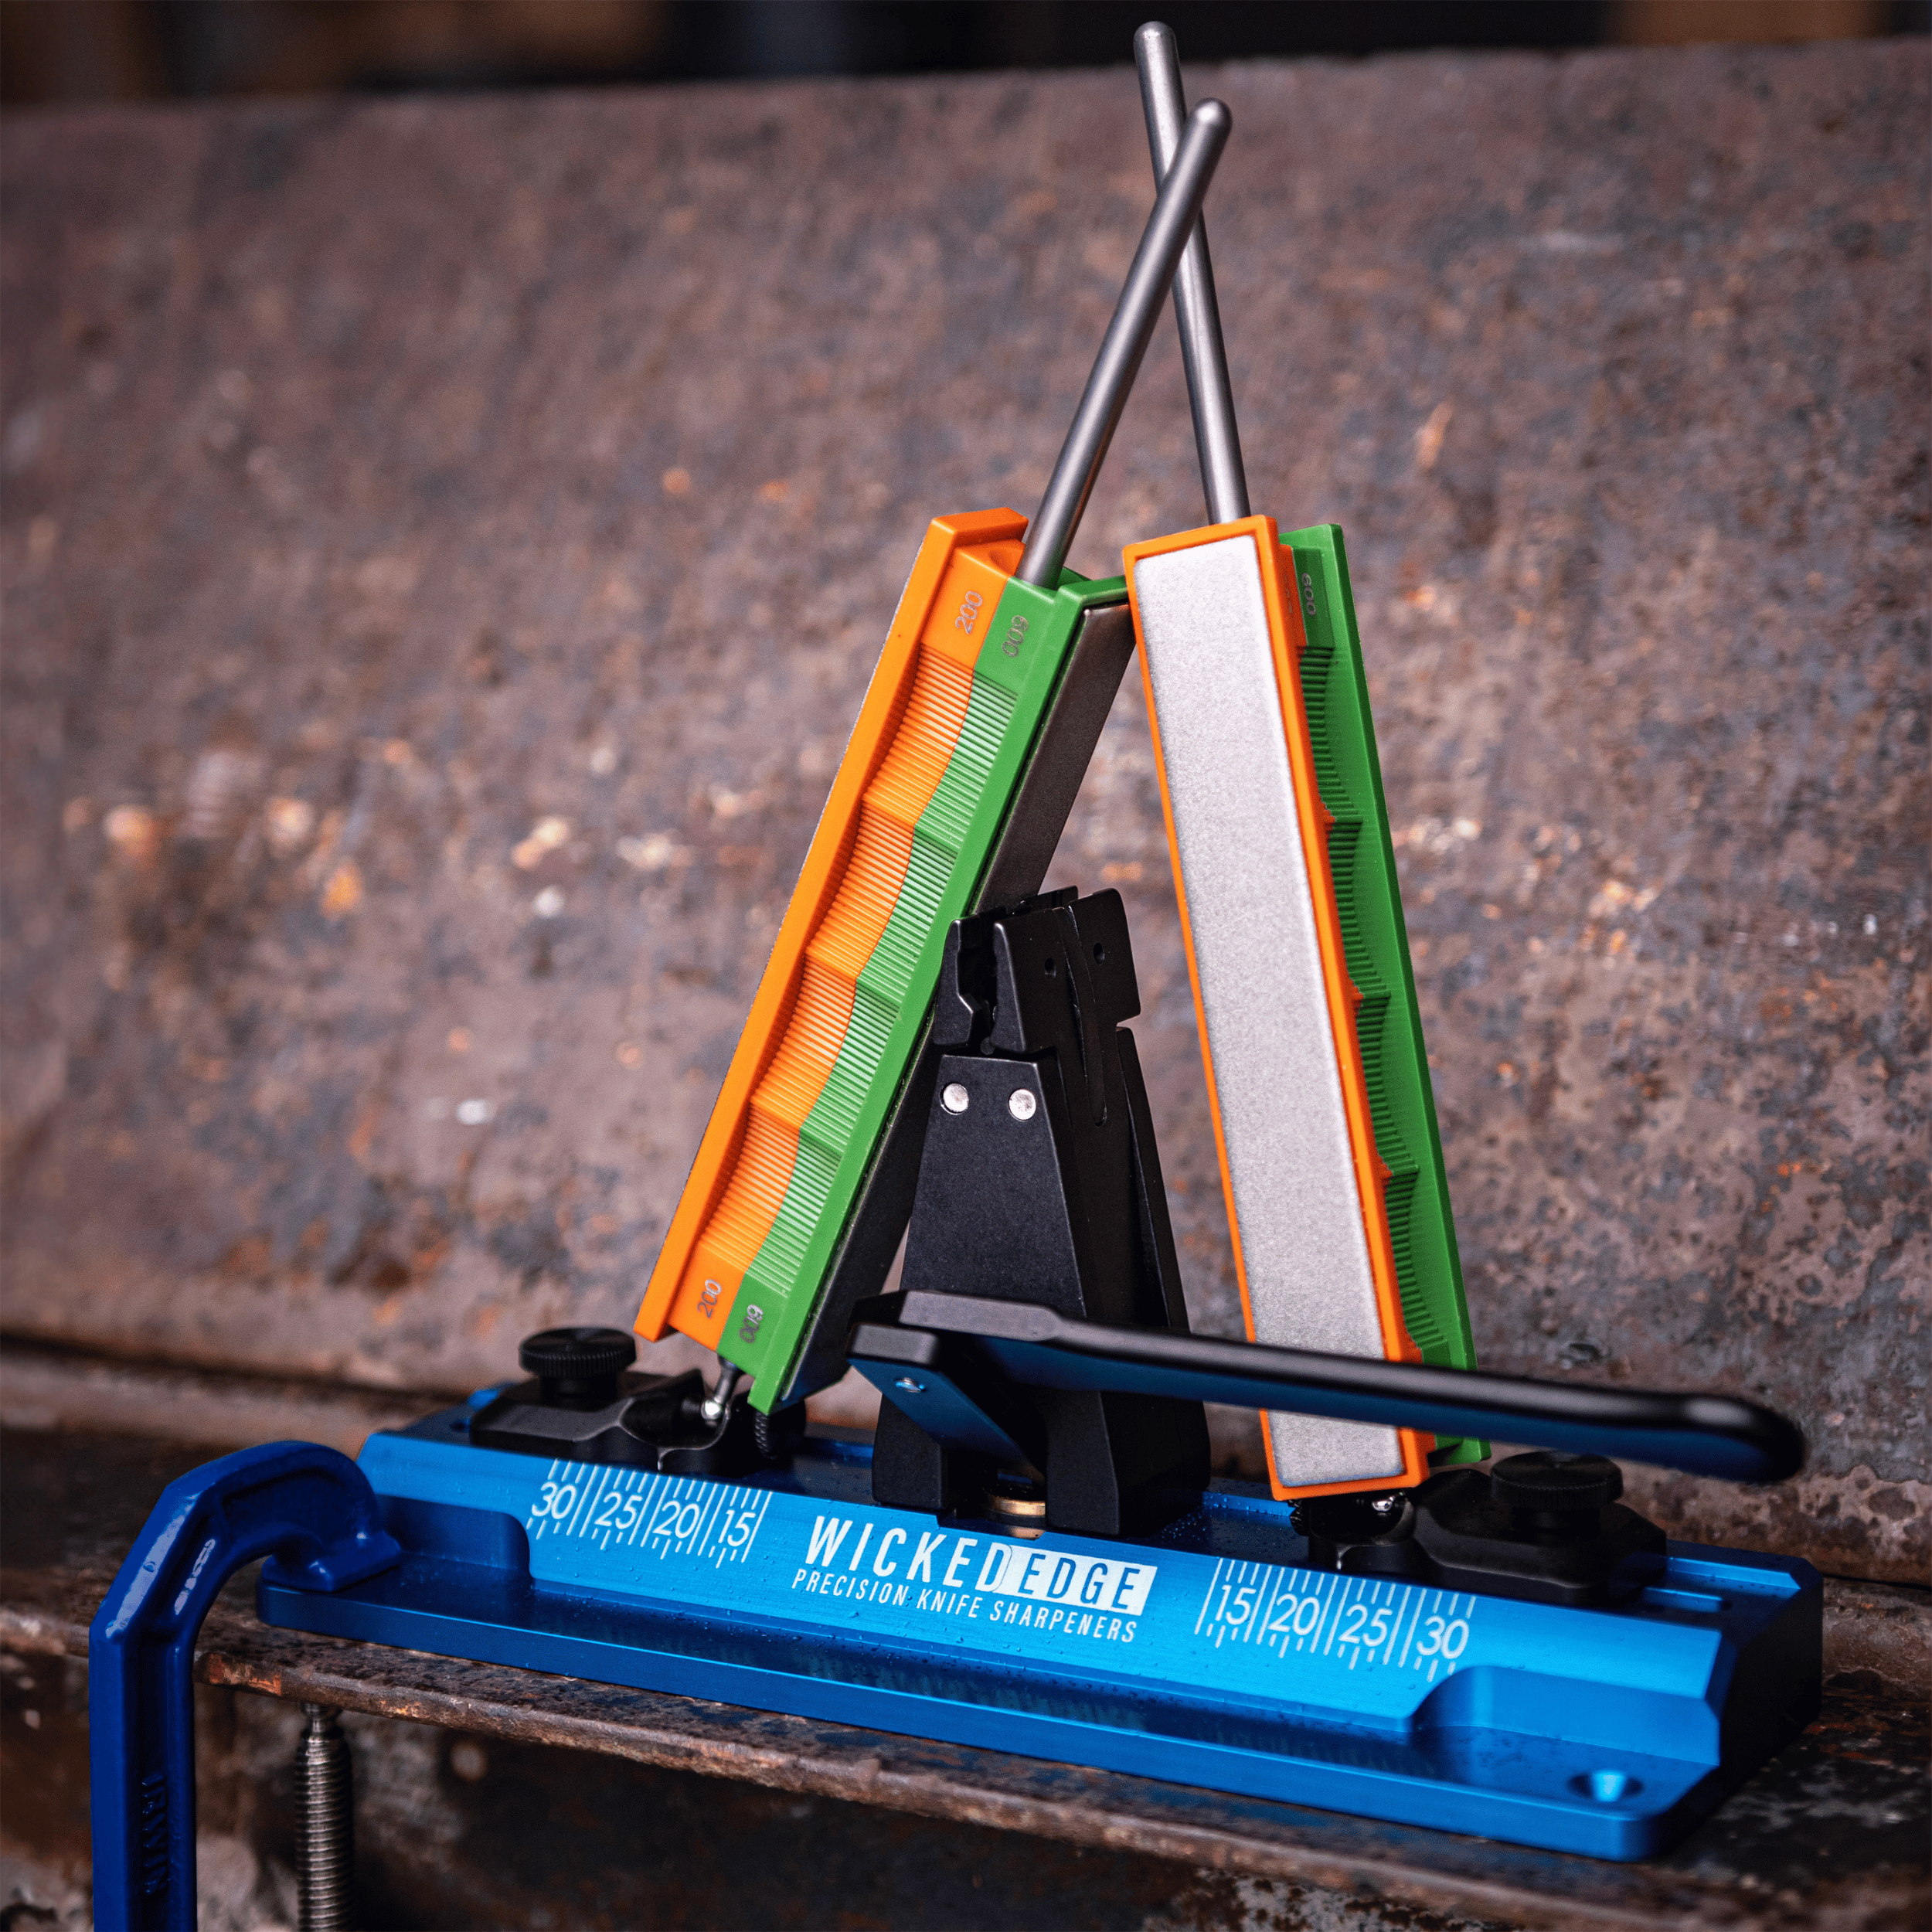
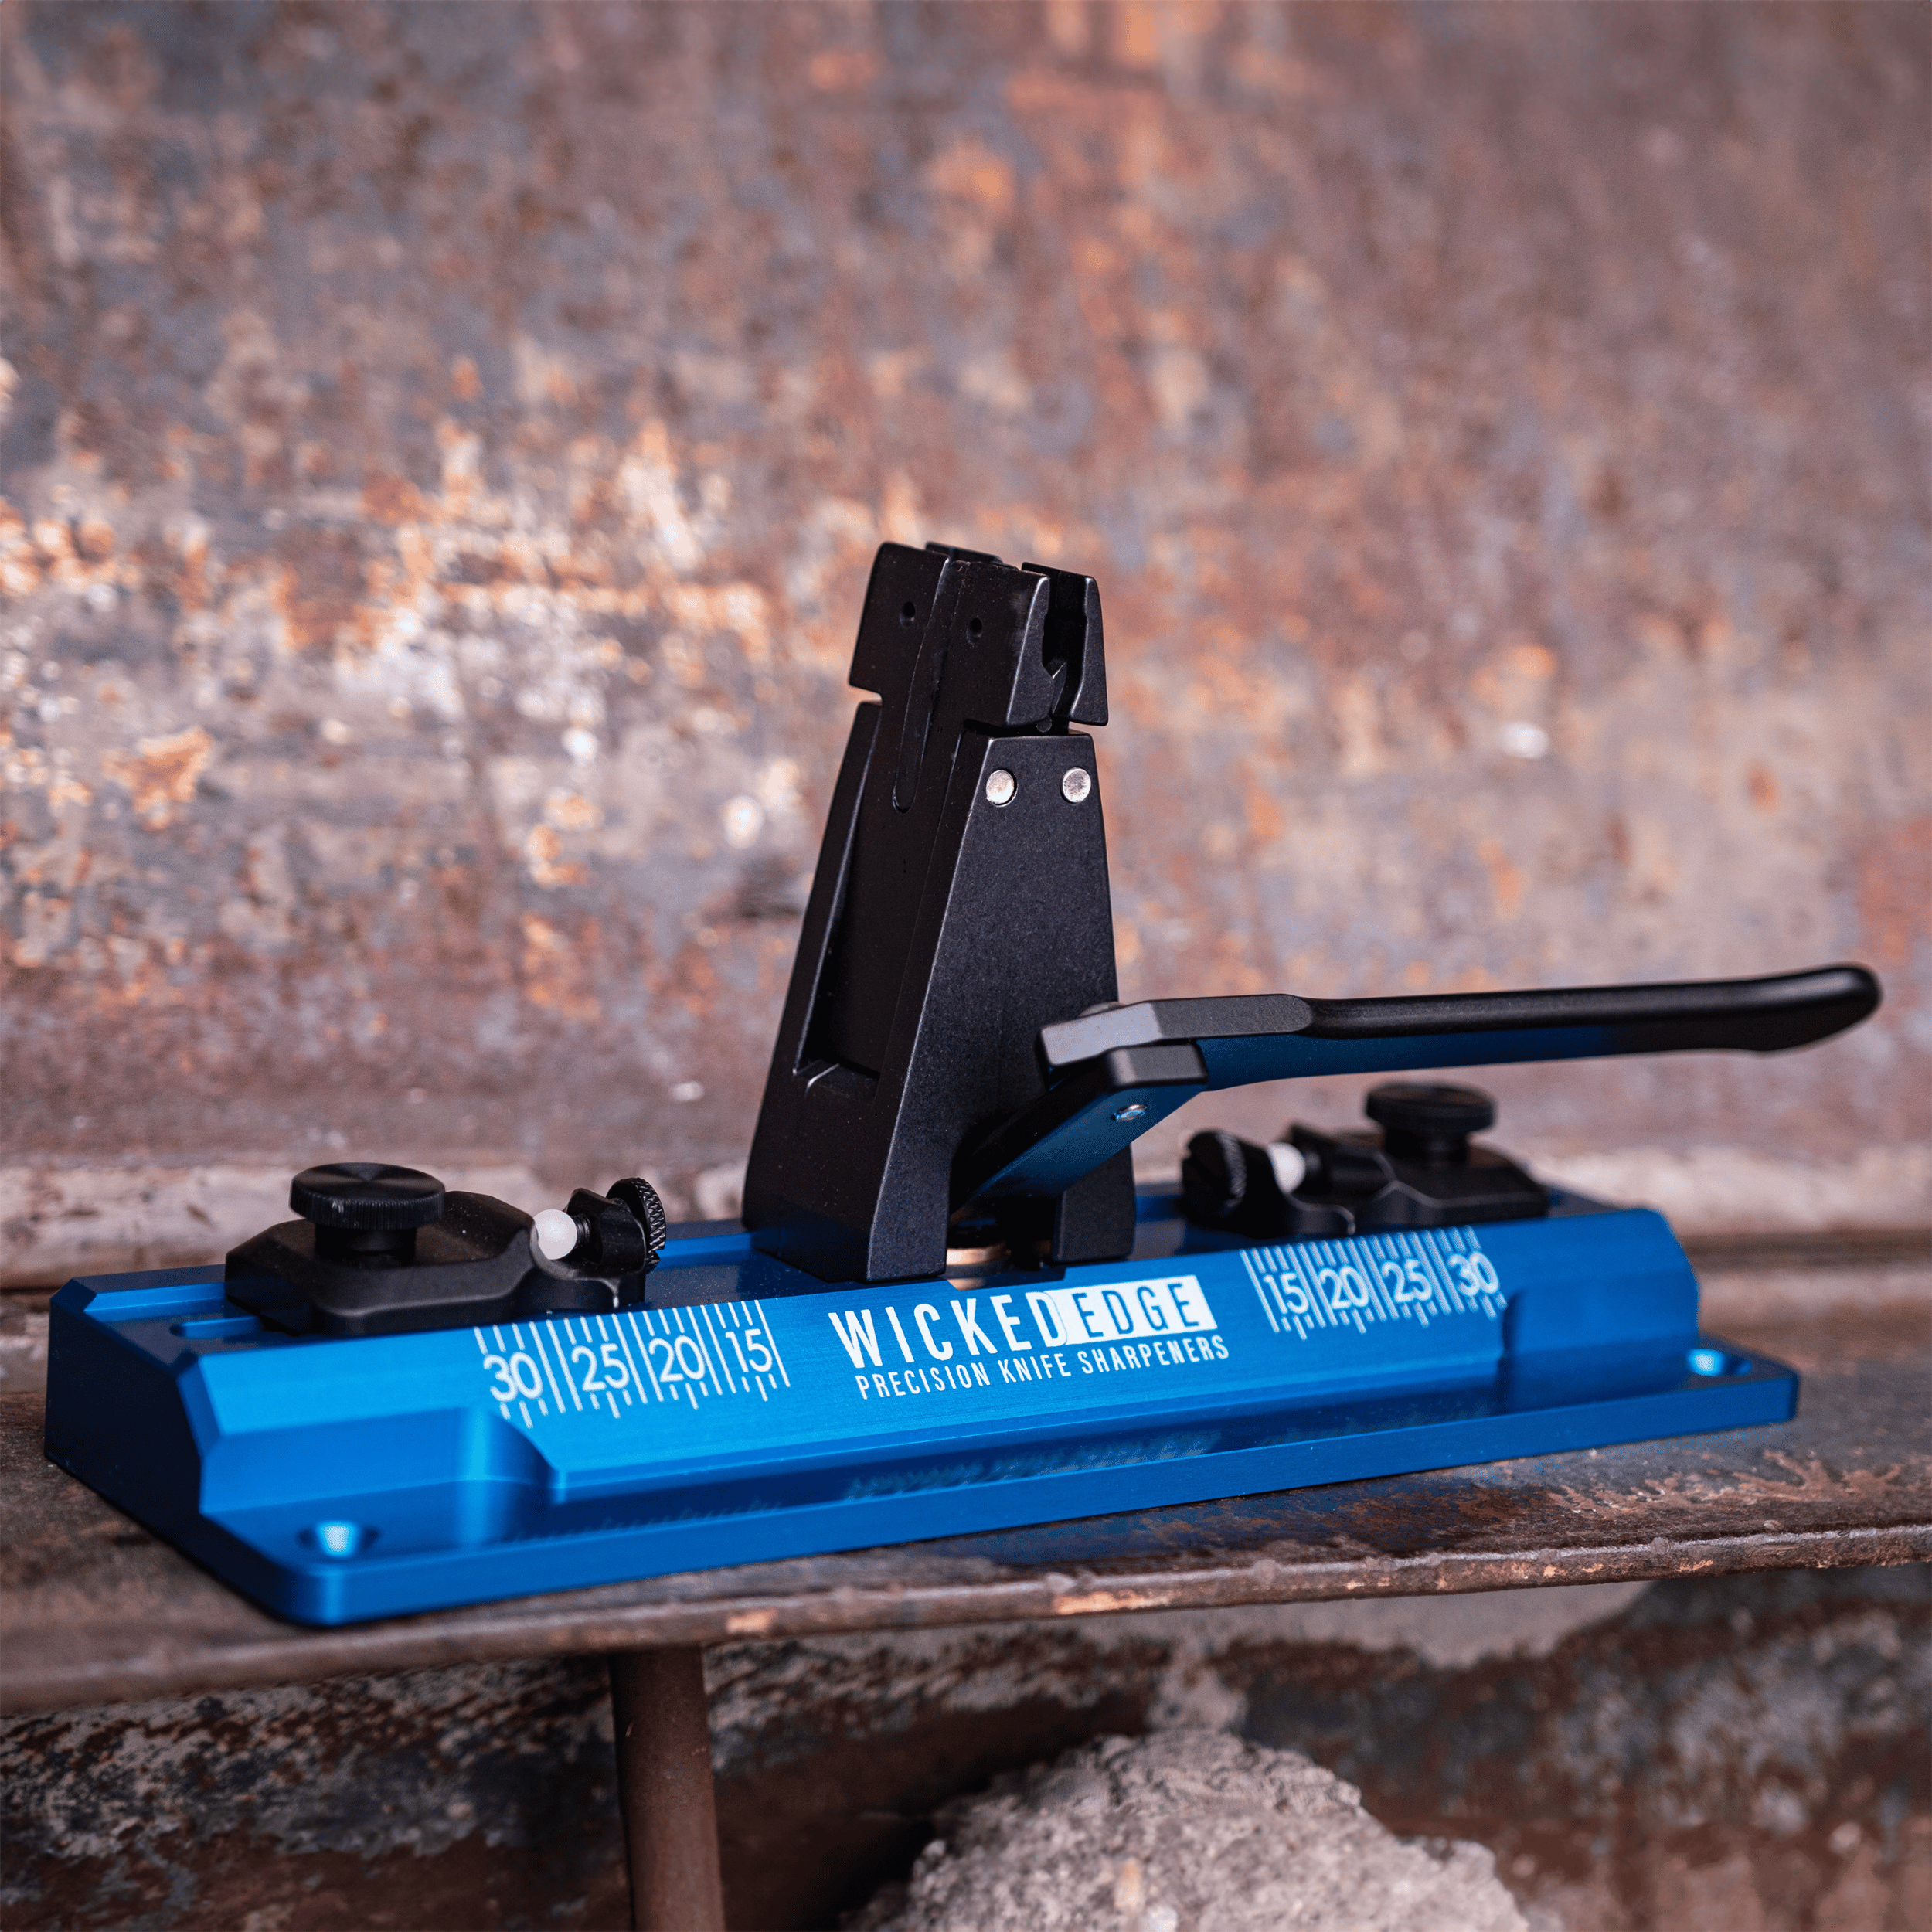
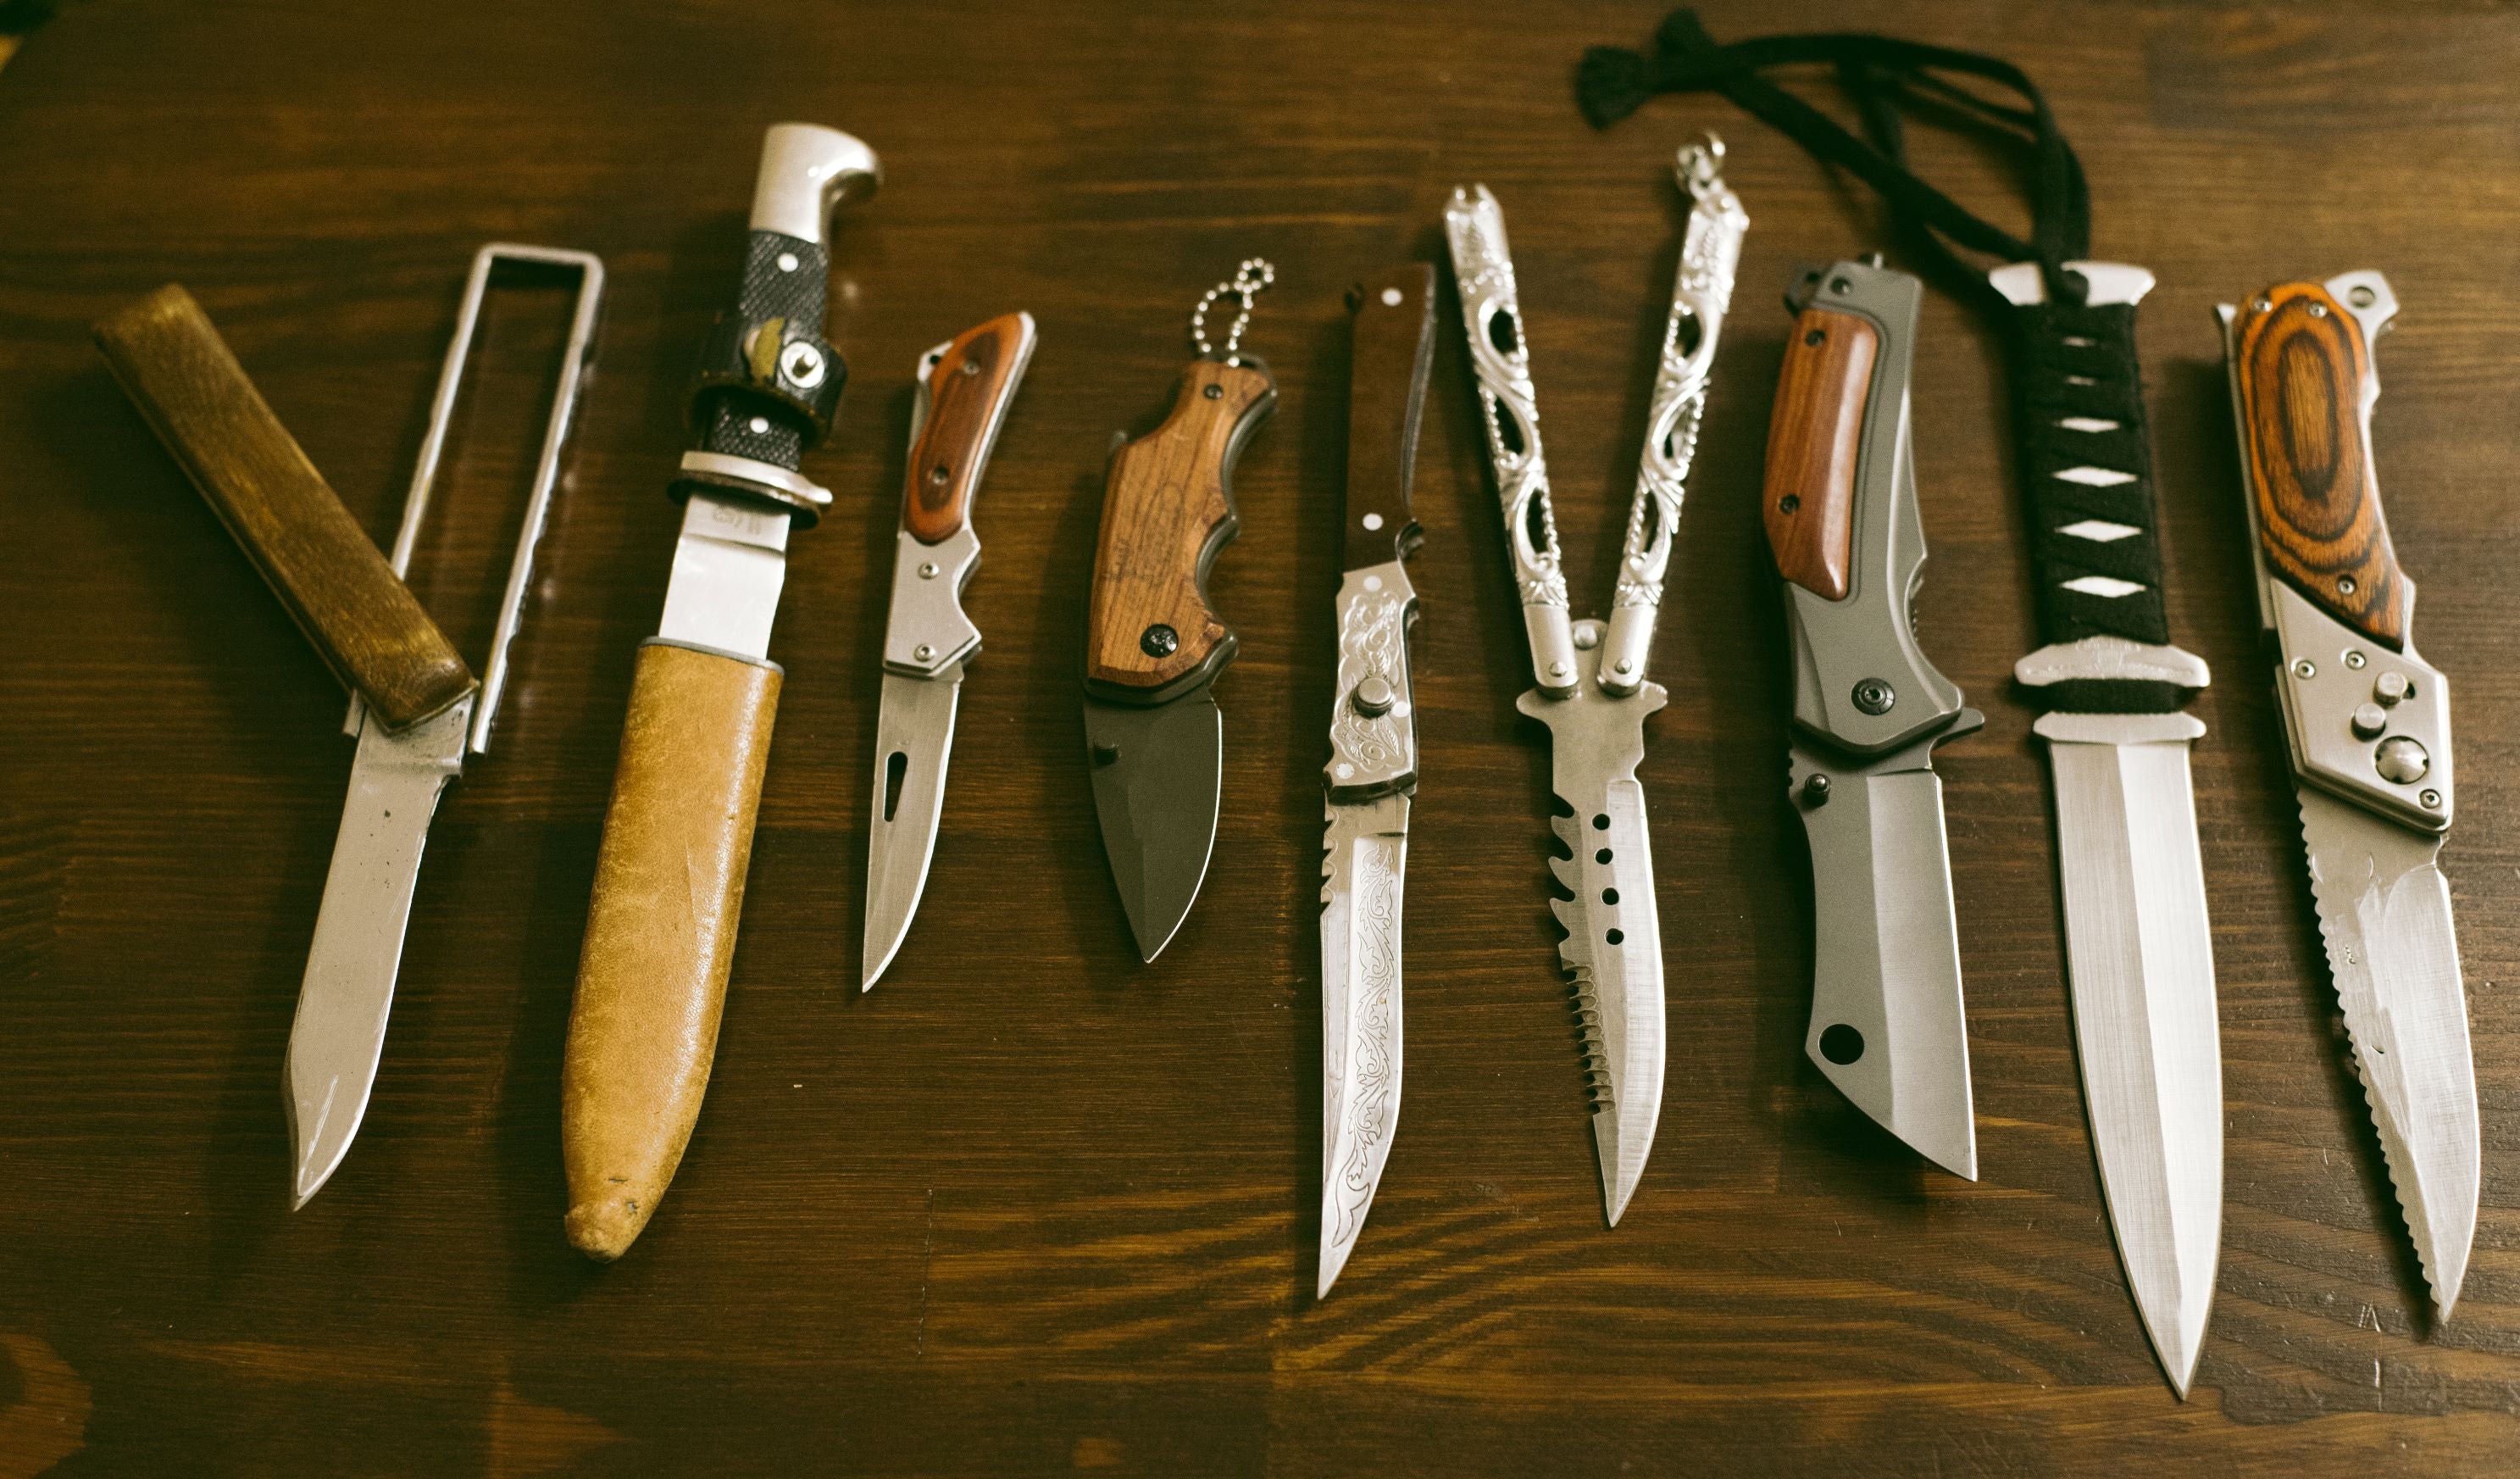
Easy, Secure Clamping
Wicked Edge technology starts with the vise. Designed and engineered with aerospace technology, the rock-solid, versatile clamping ability allows you to secure every blade you own.
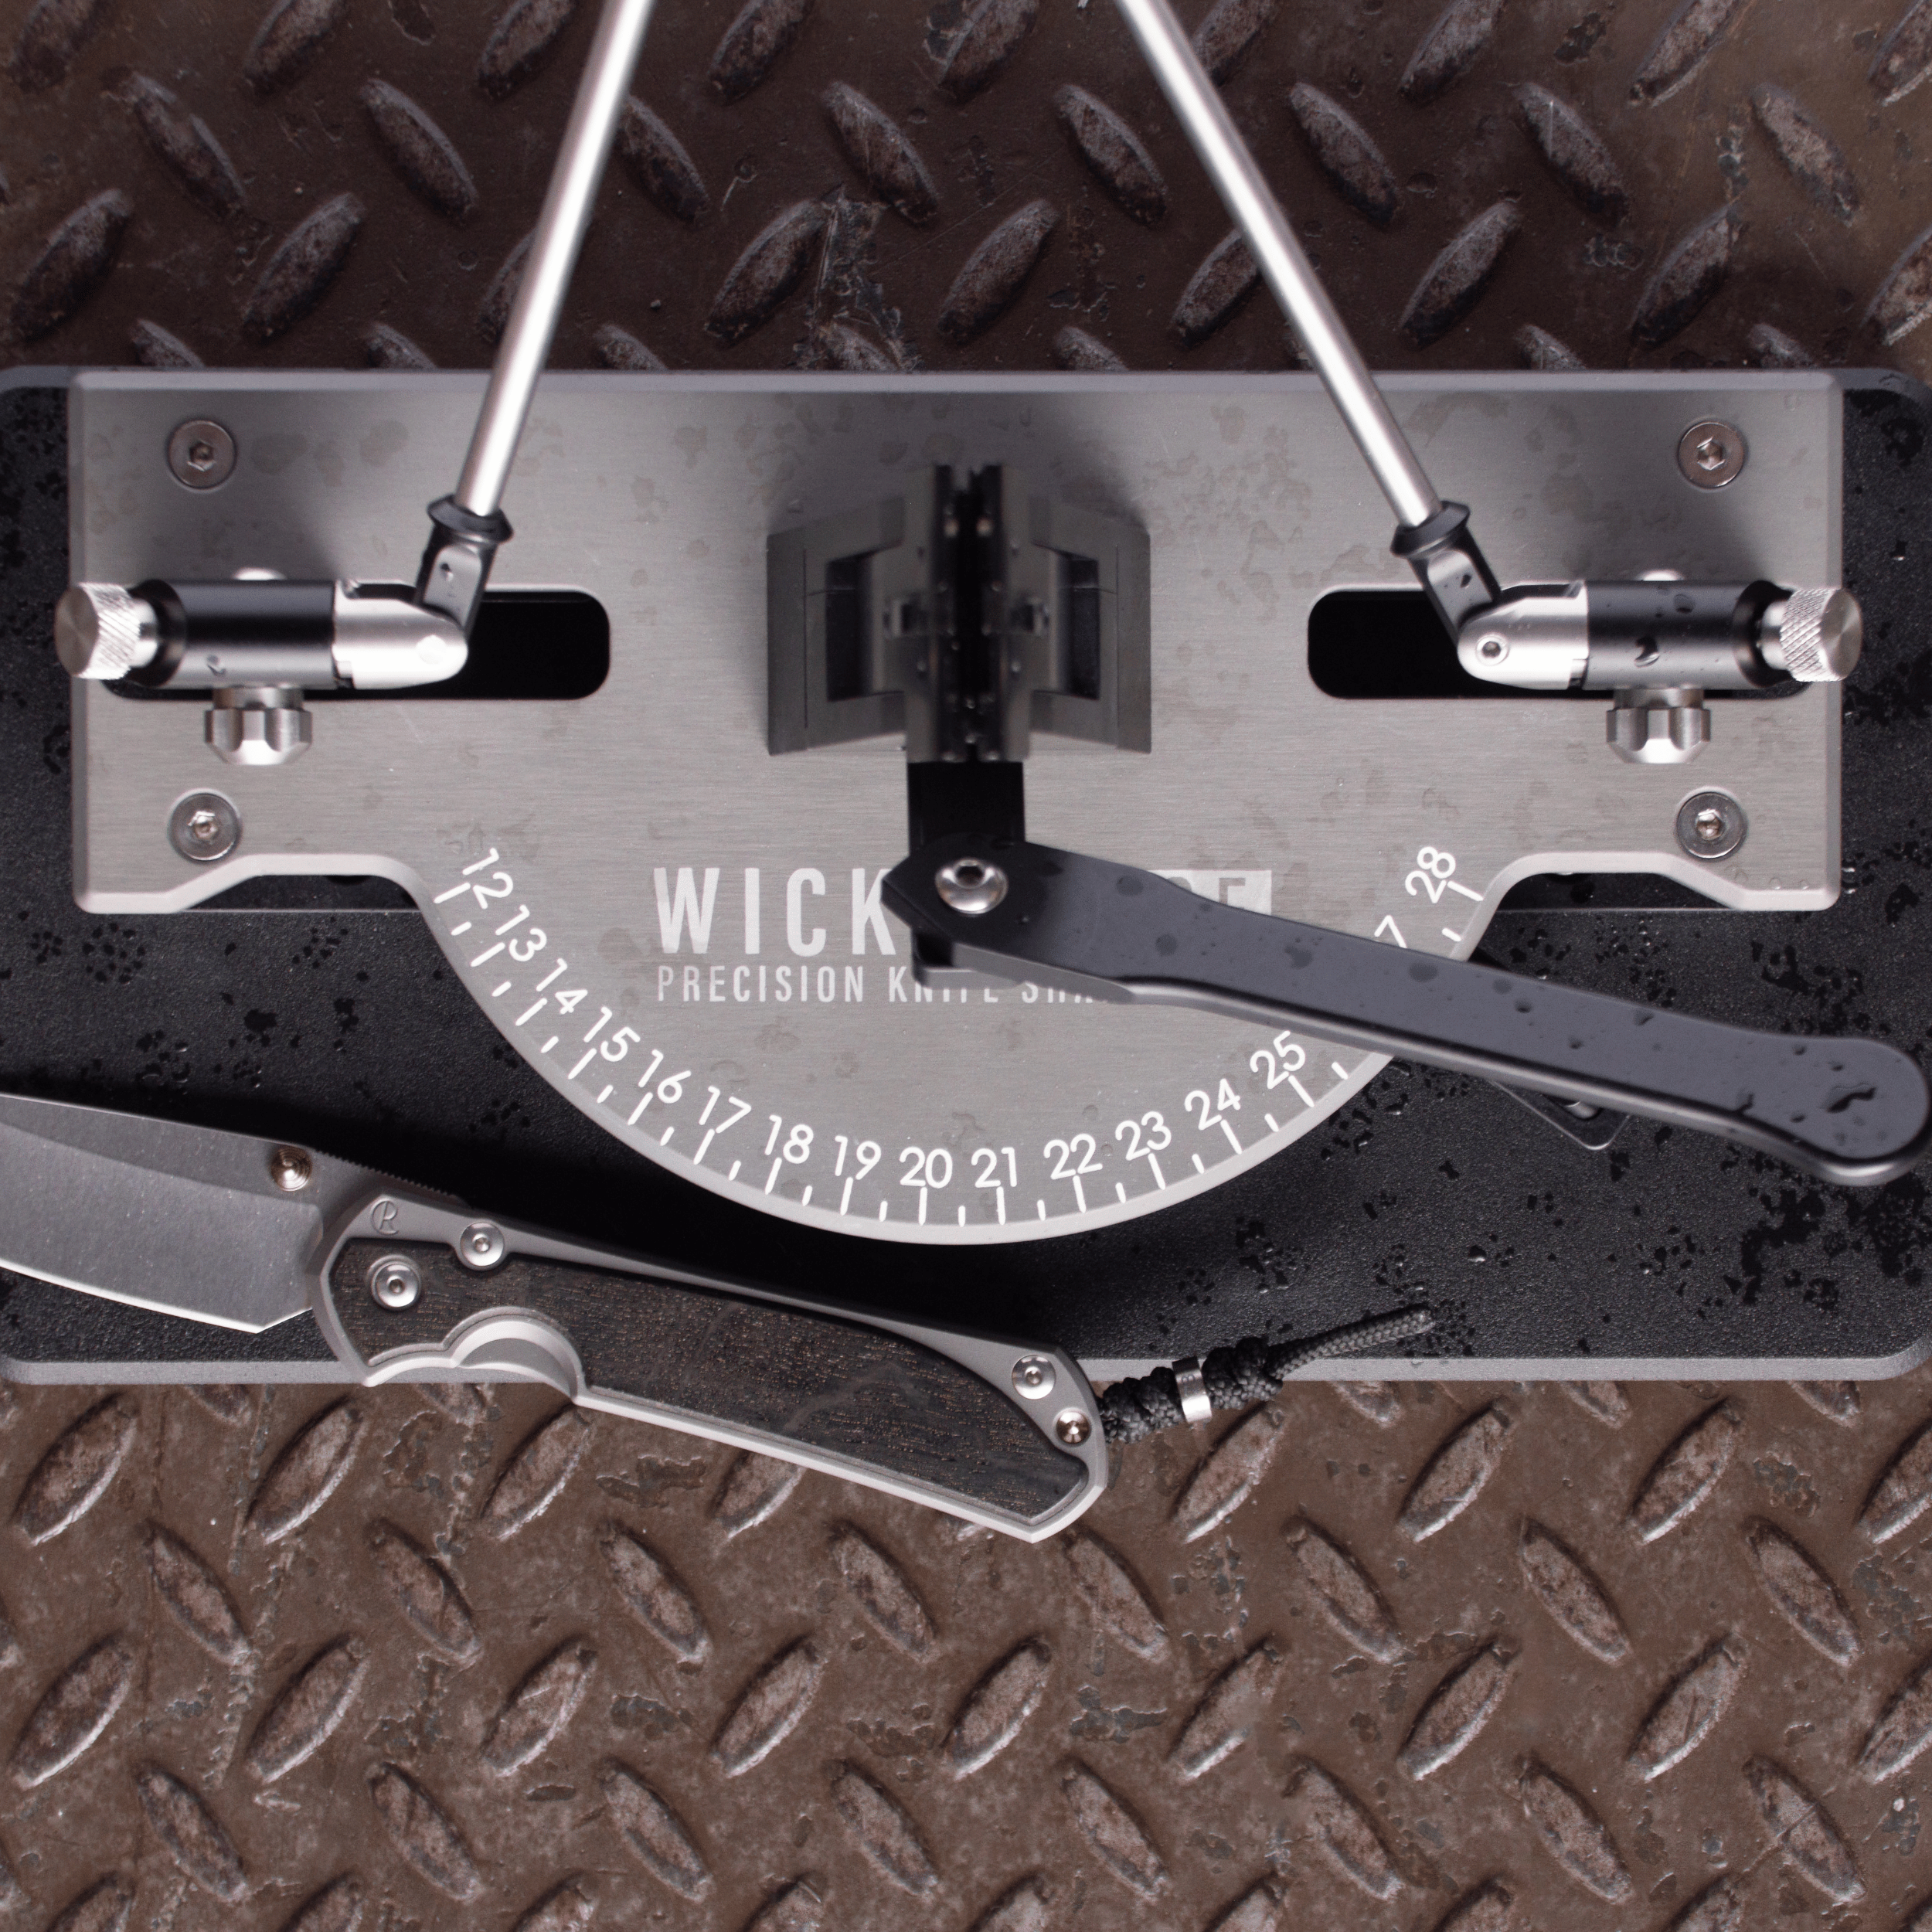
Guided Angle Adjustments
Precise angle markings let you sharpen within a huge angle range. Match your factory angles, reprofile to your desired angle, or go asymmetrical. Wicked Edge gives you the freedom to set the angle that works best for your blade.
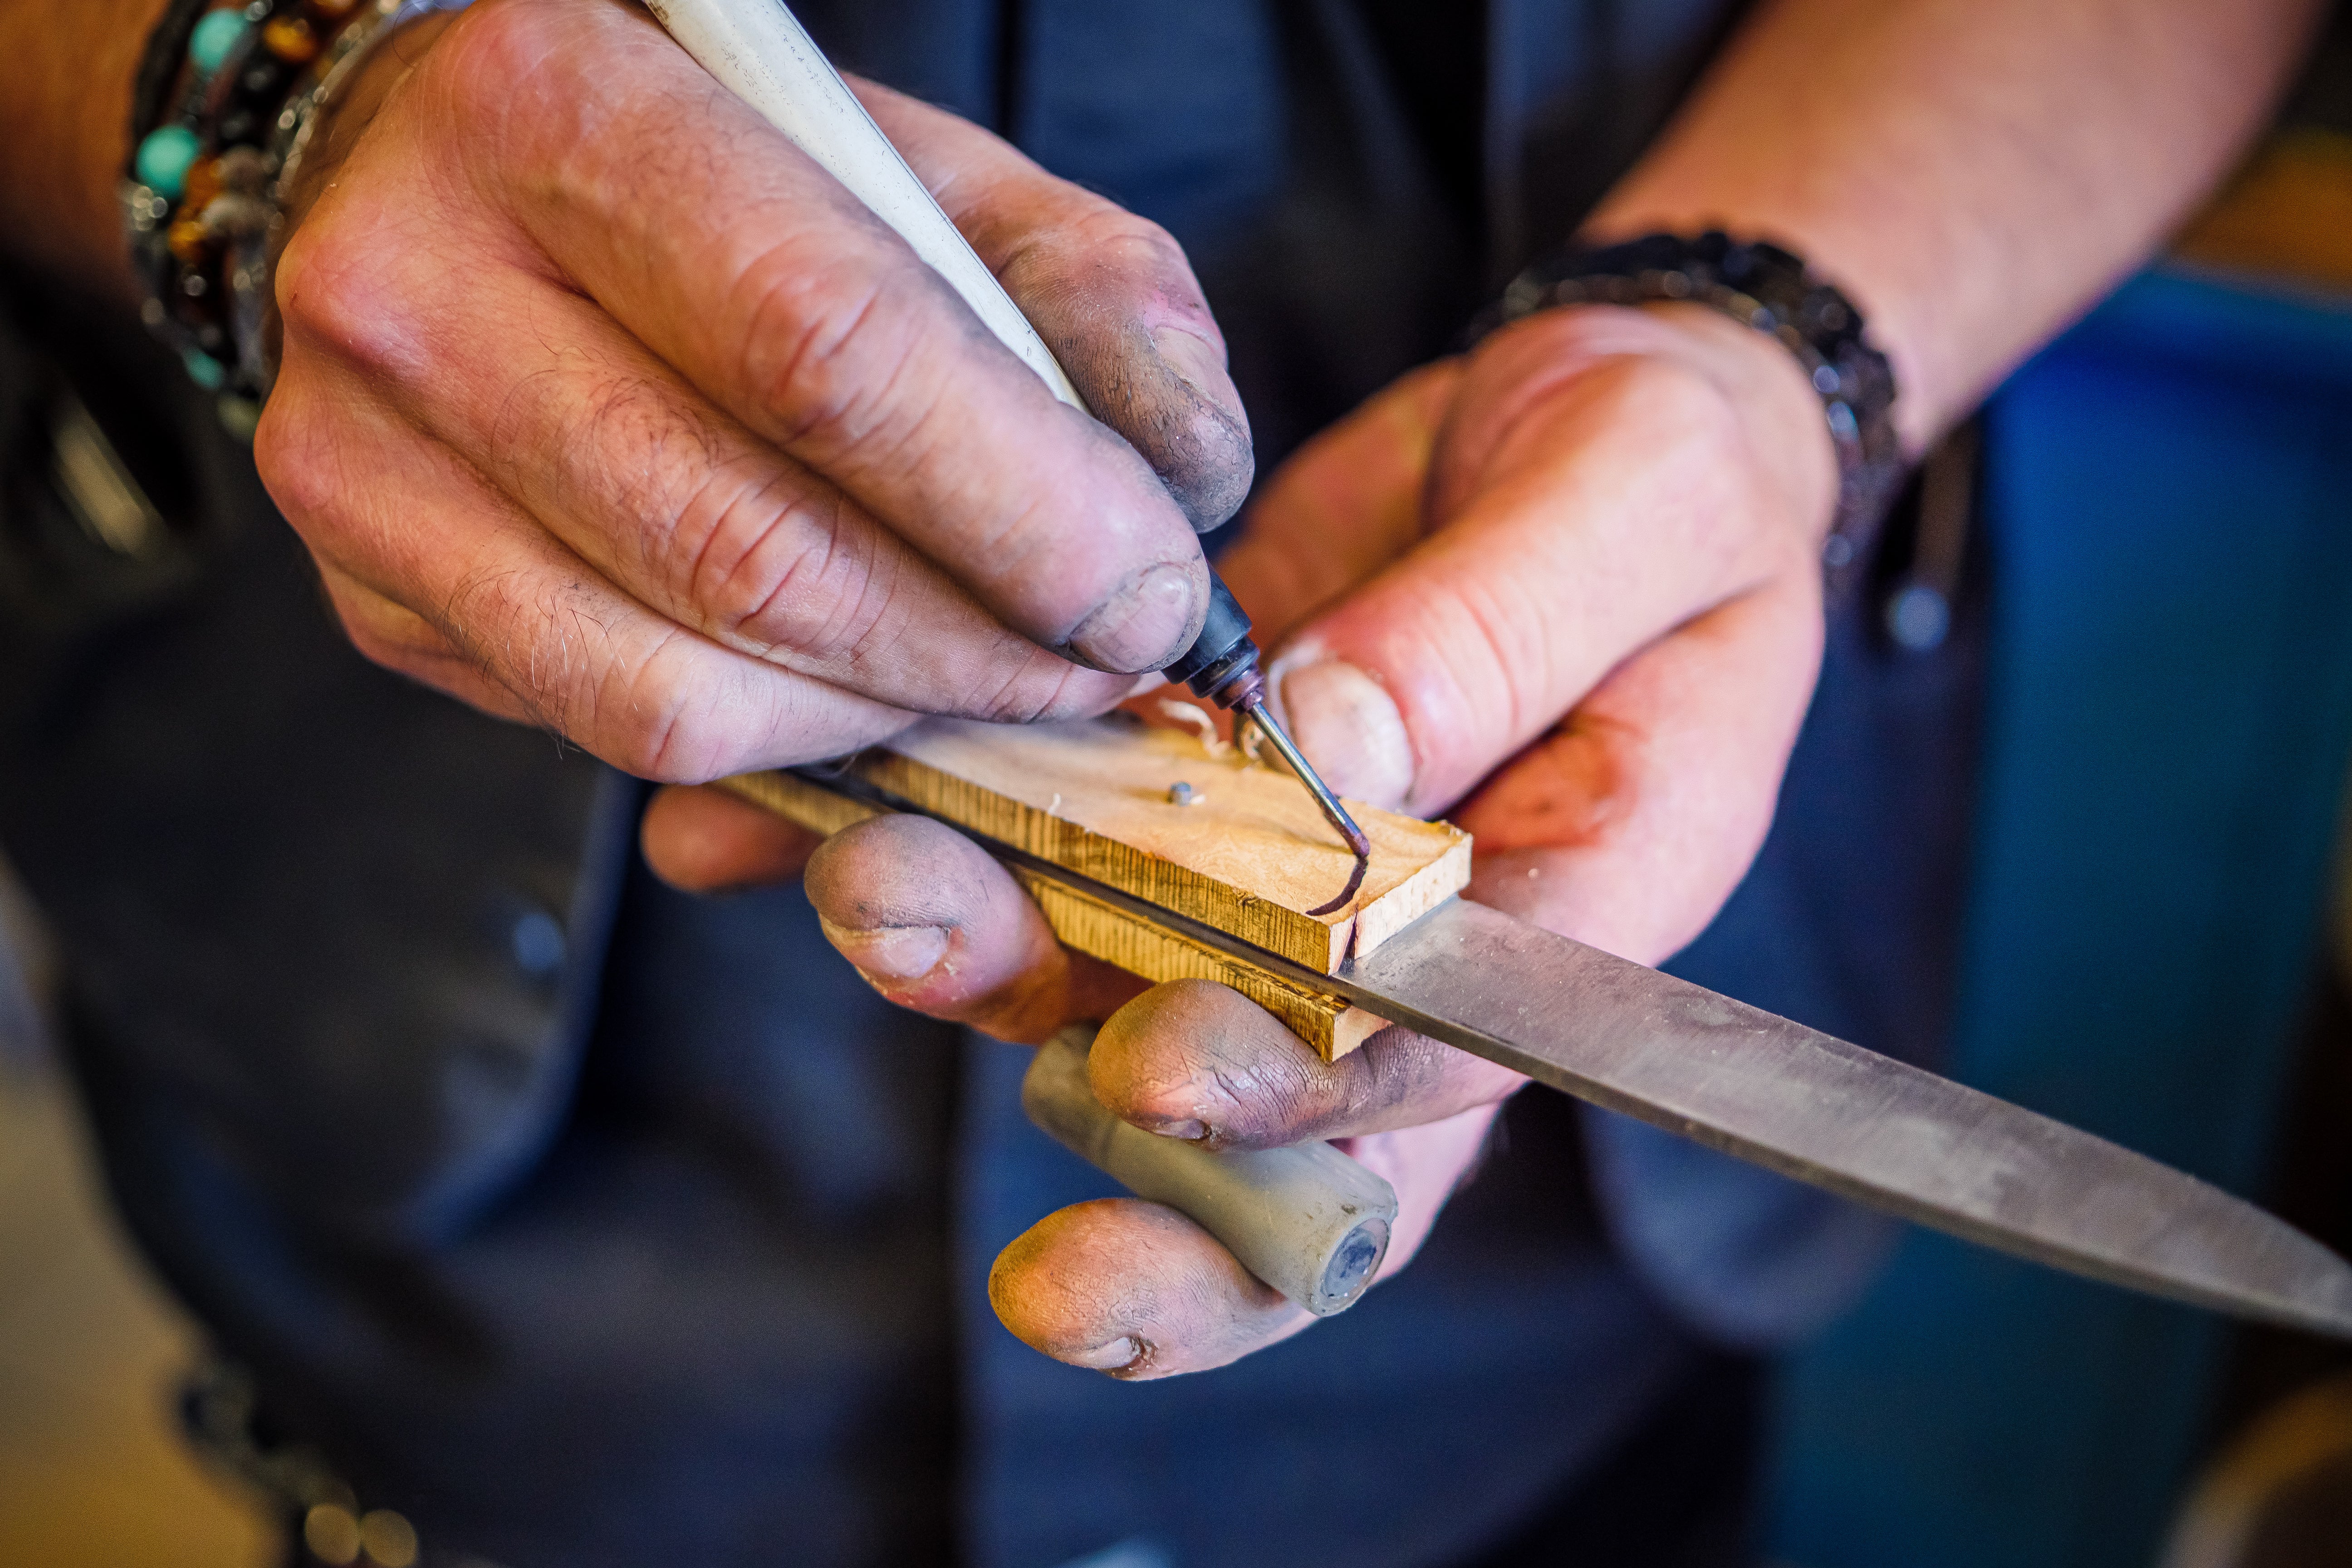
Repeatabilty
Wicked Edge sharpeners are the only sharpeners designed for repeatability. With recordable depth, angle, and position settings, Wicked Edge offers the fastest touch-ups, the sharpest edges, and the longest lives for all your knives.
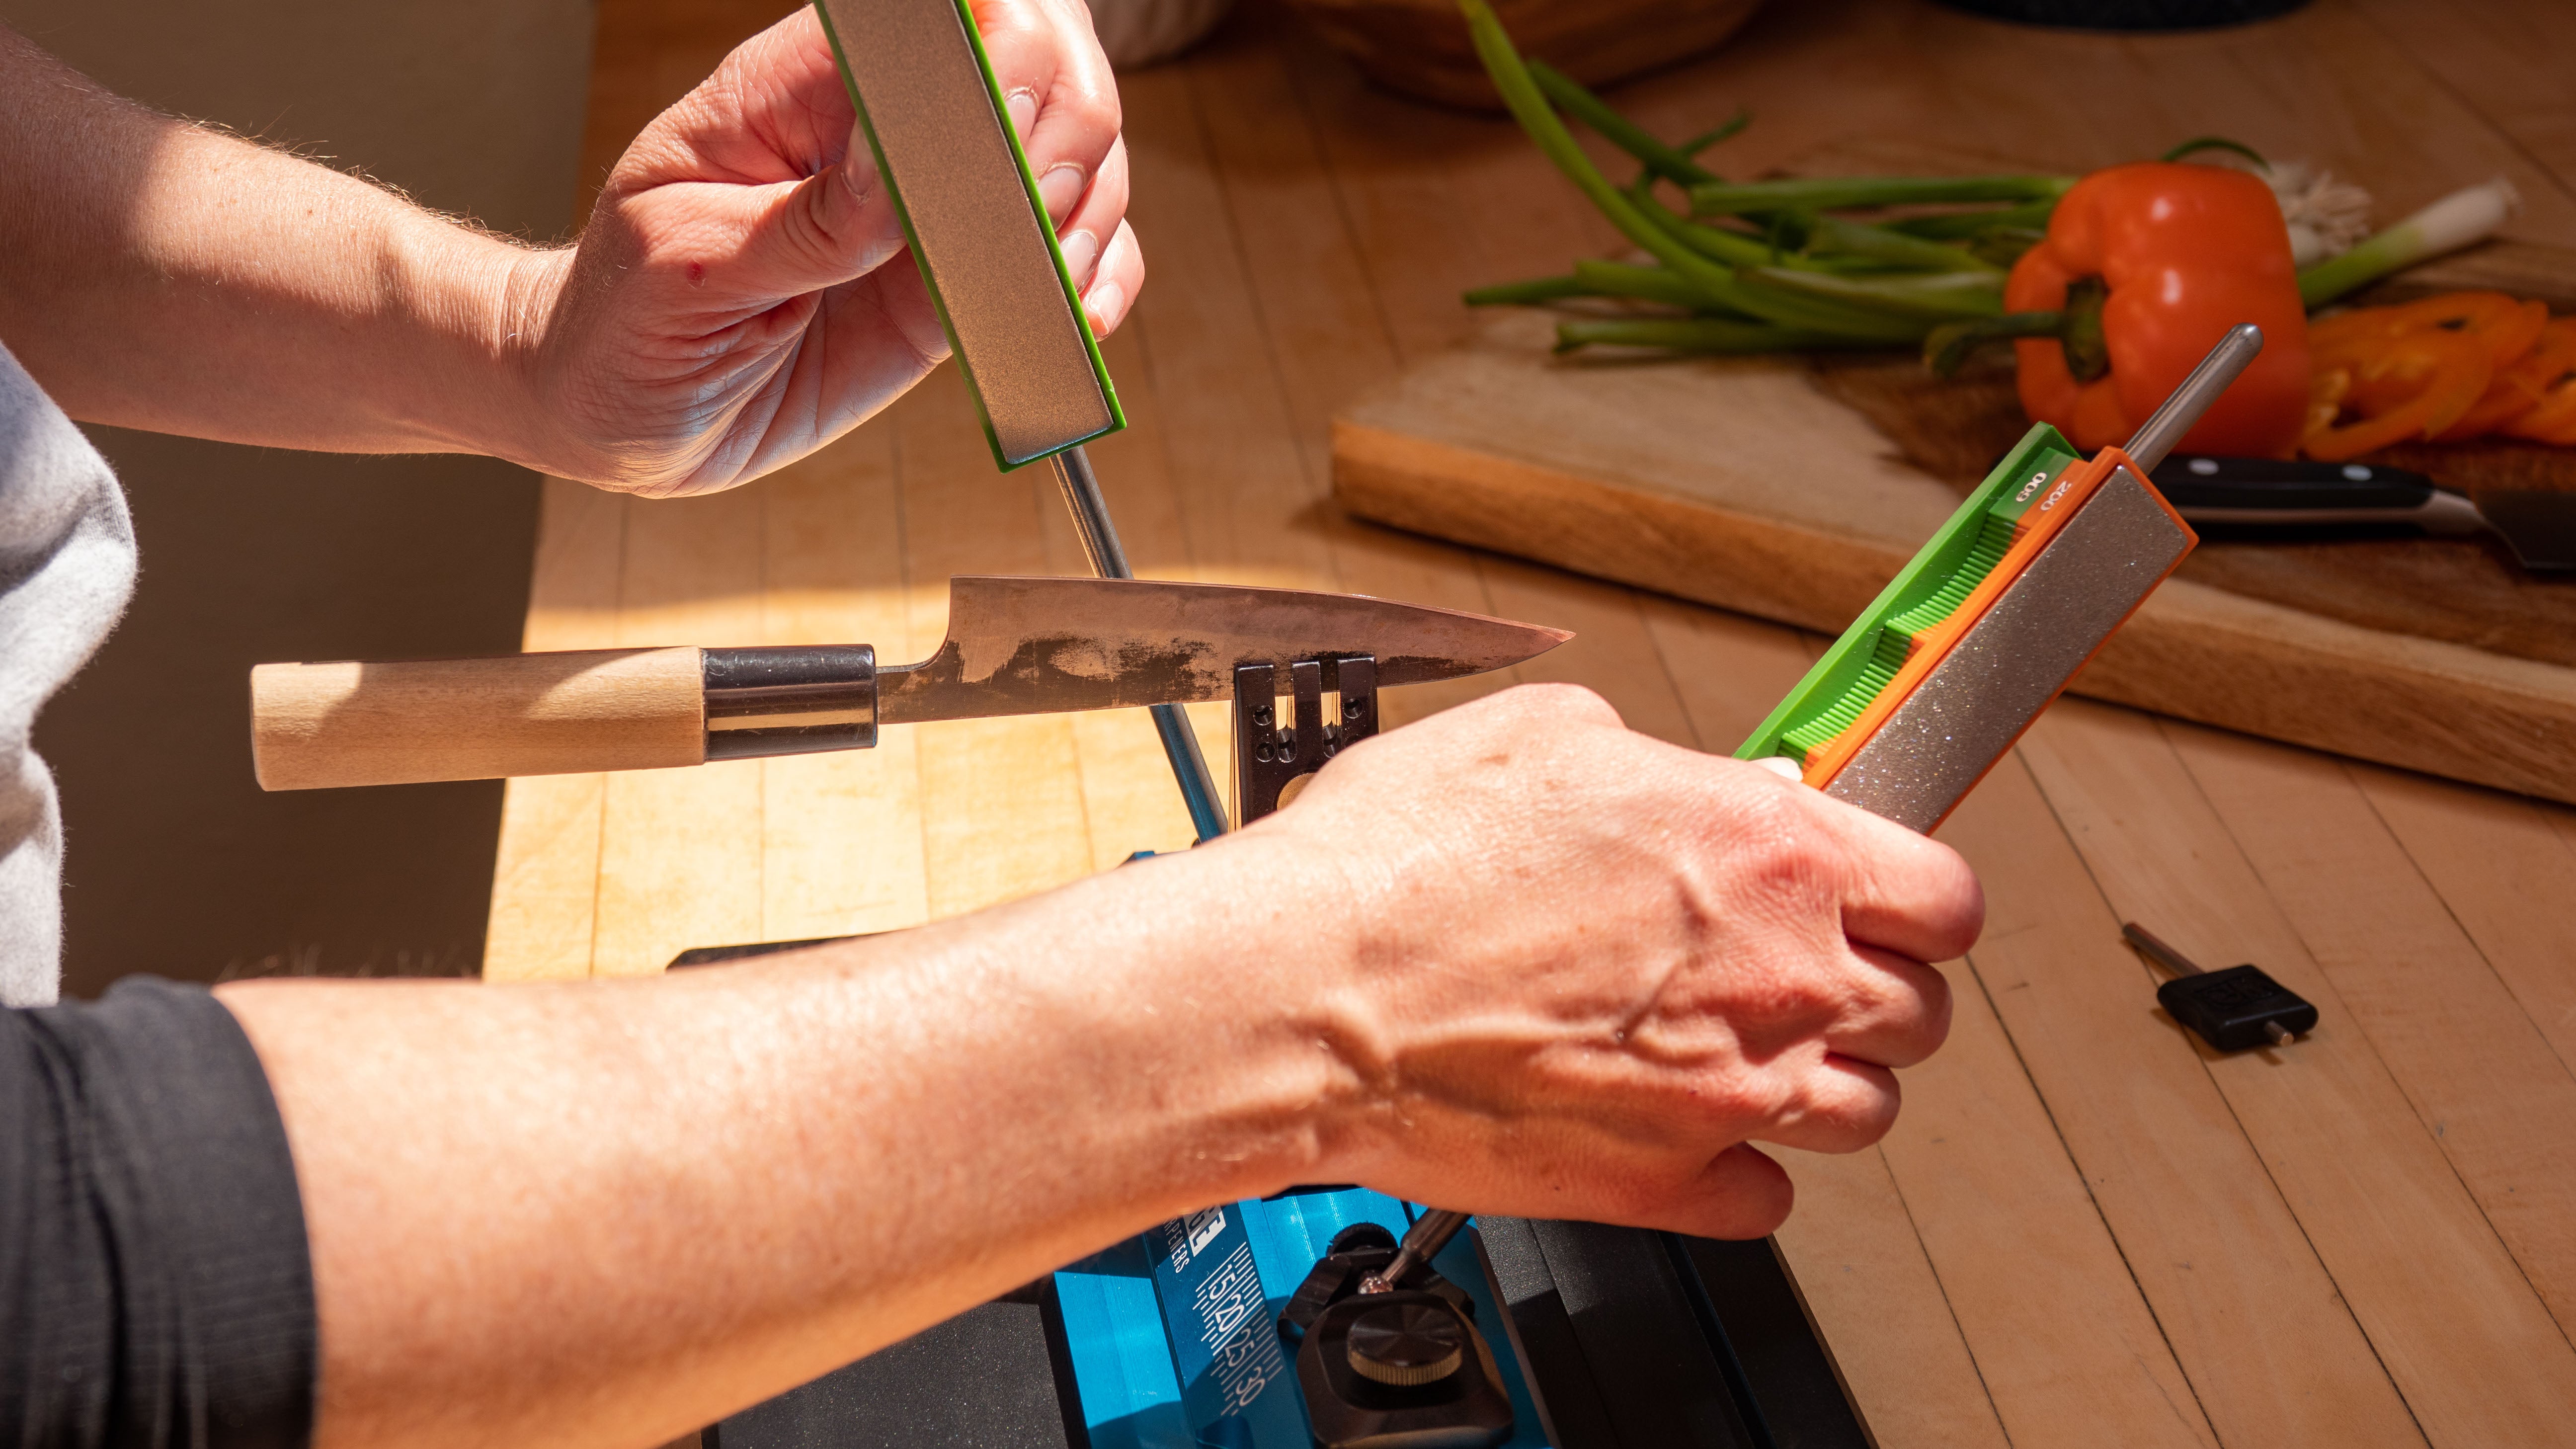
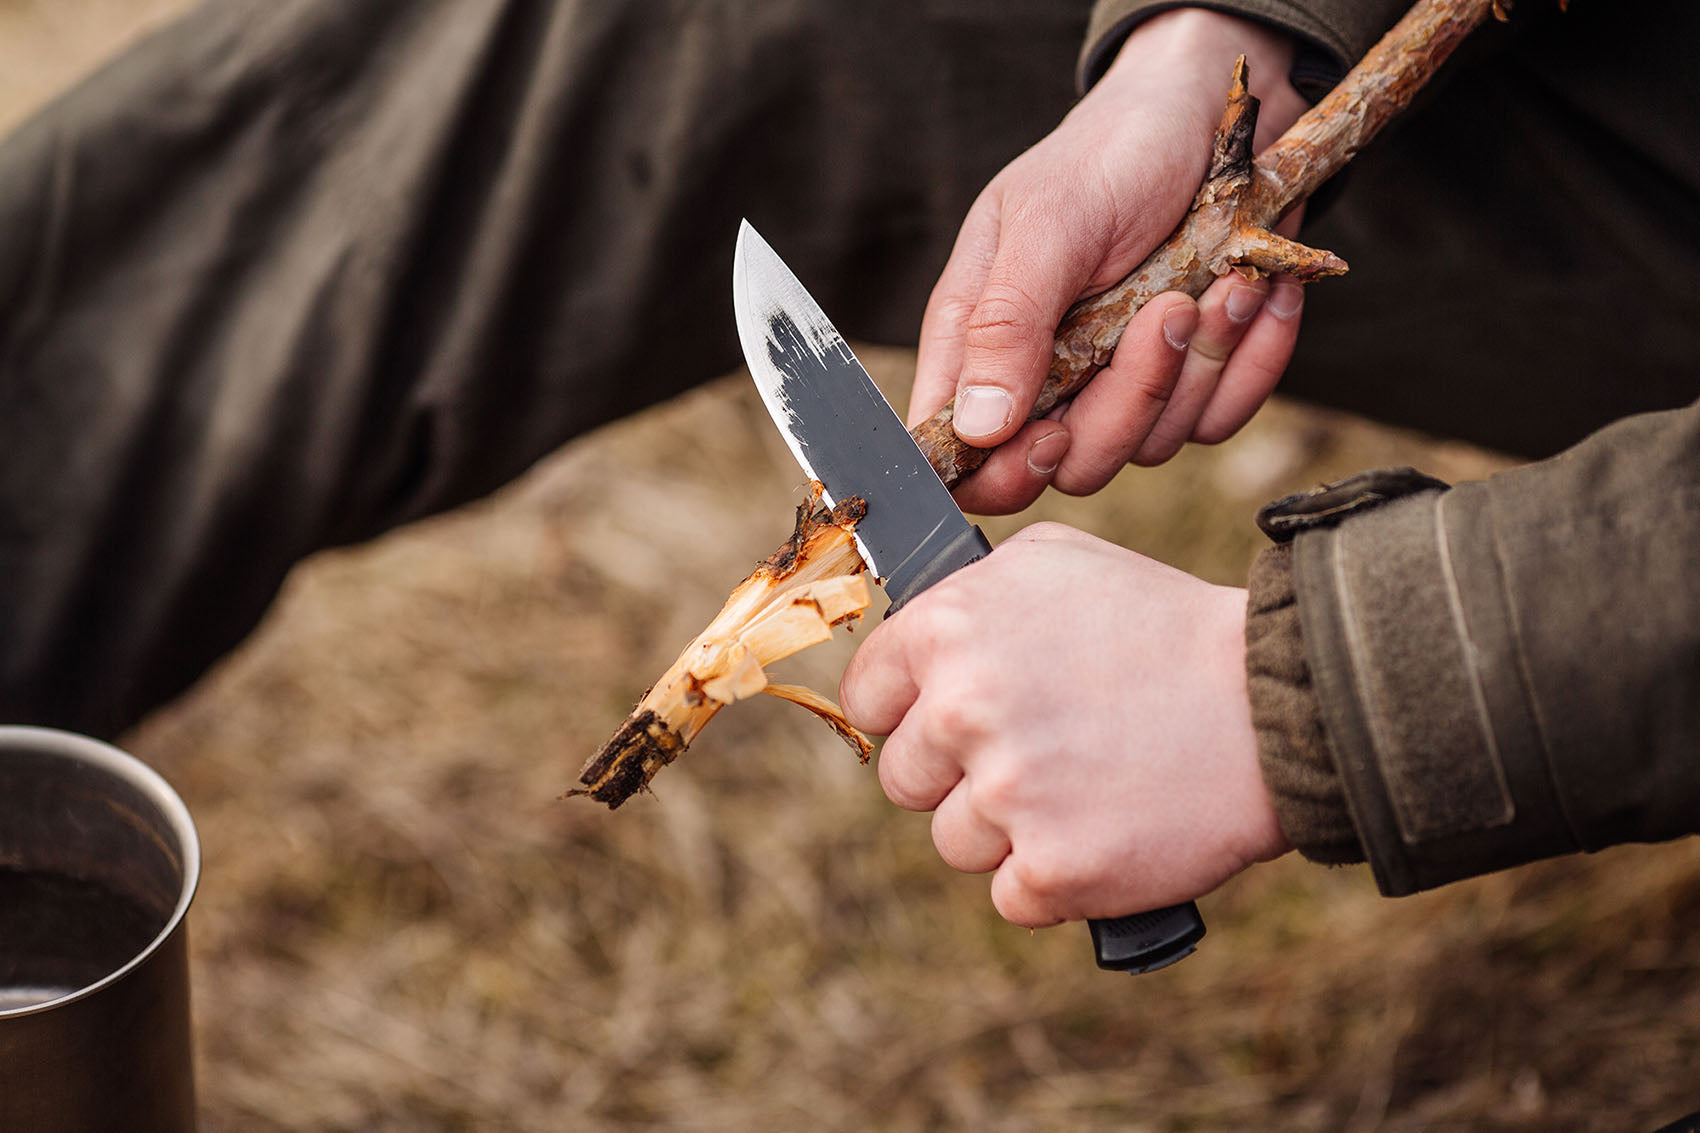
Sharpen Both Sides Simultaneously
Our patented, dual-sided sharpeners don't work harden your blade. What does that mean? It means a Wicked Edge doesn't weaken your blades edge like singled sided systems, resulting in less rolling, chipping, and greater durability.
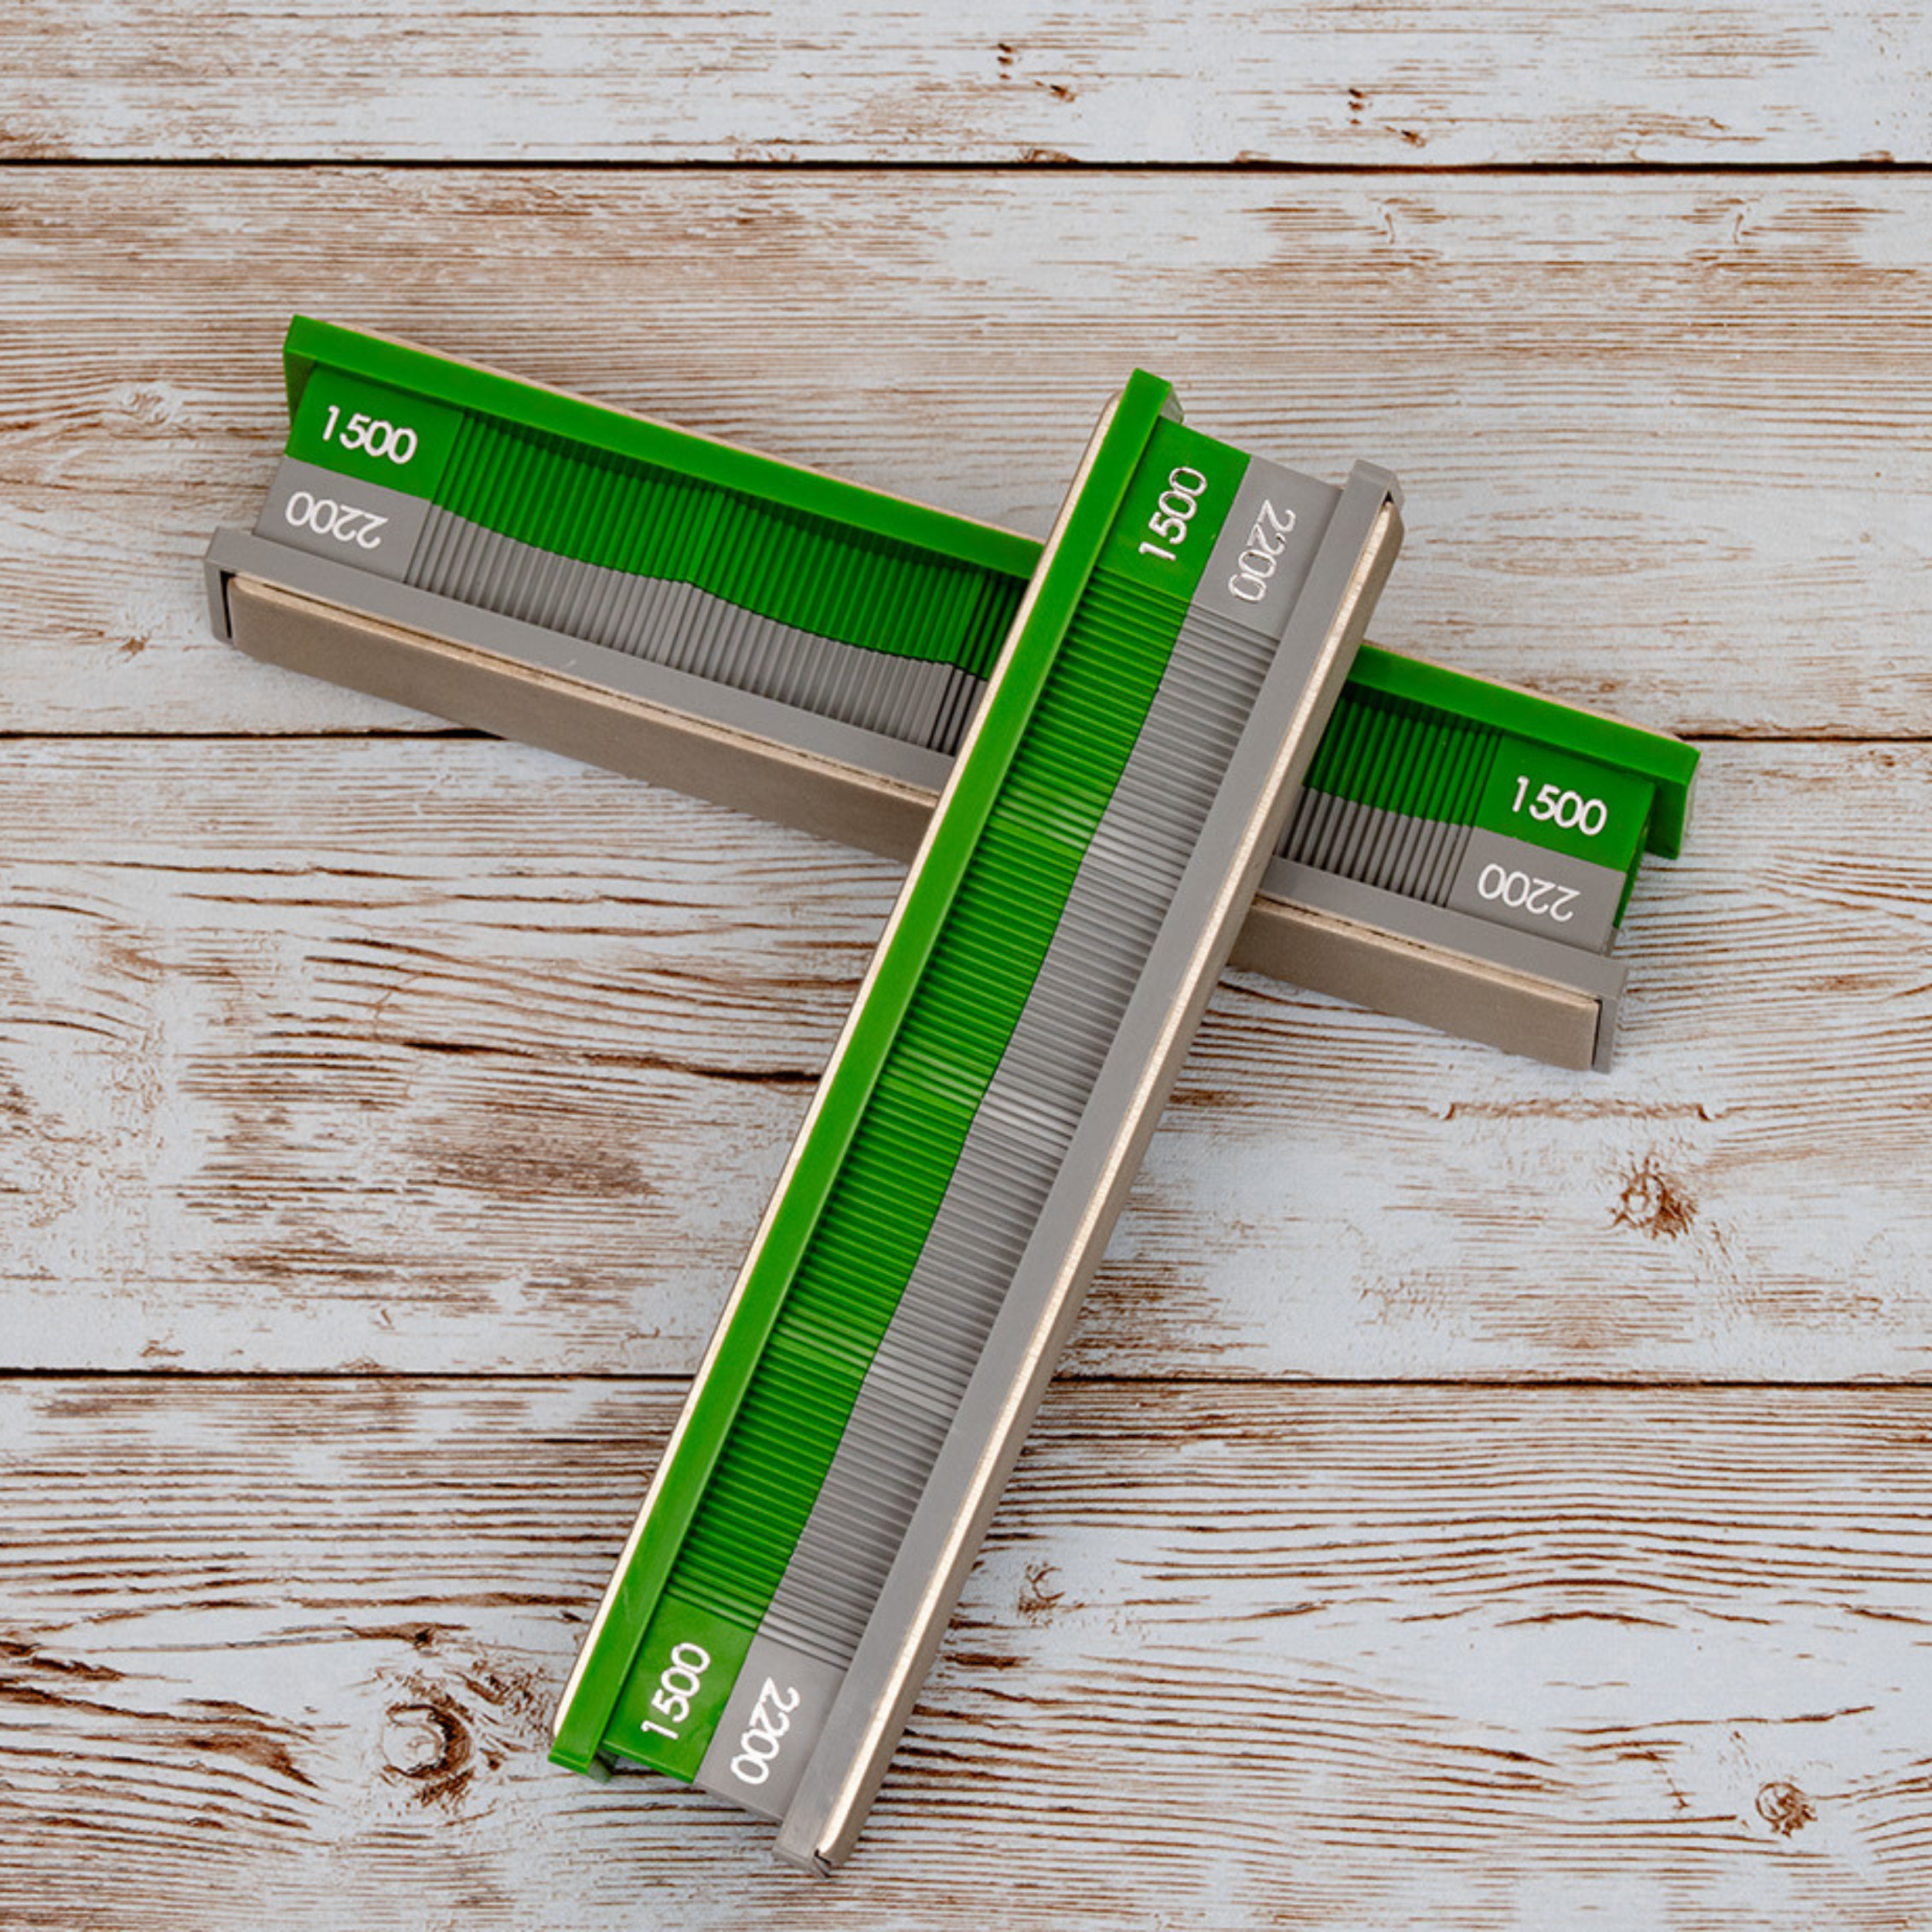
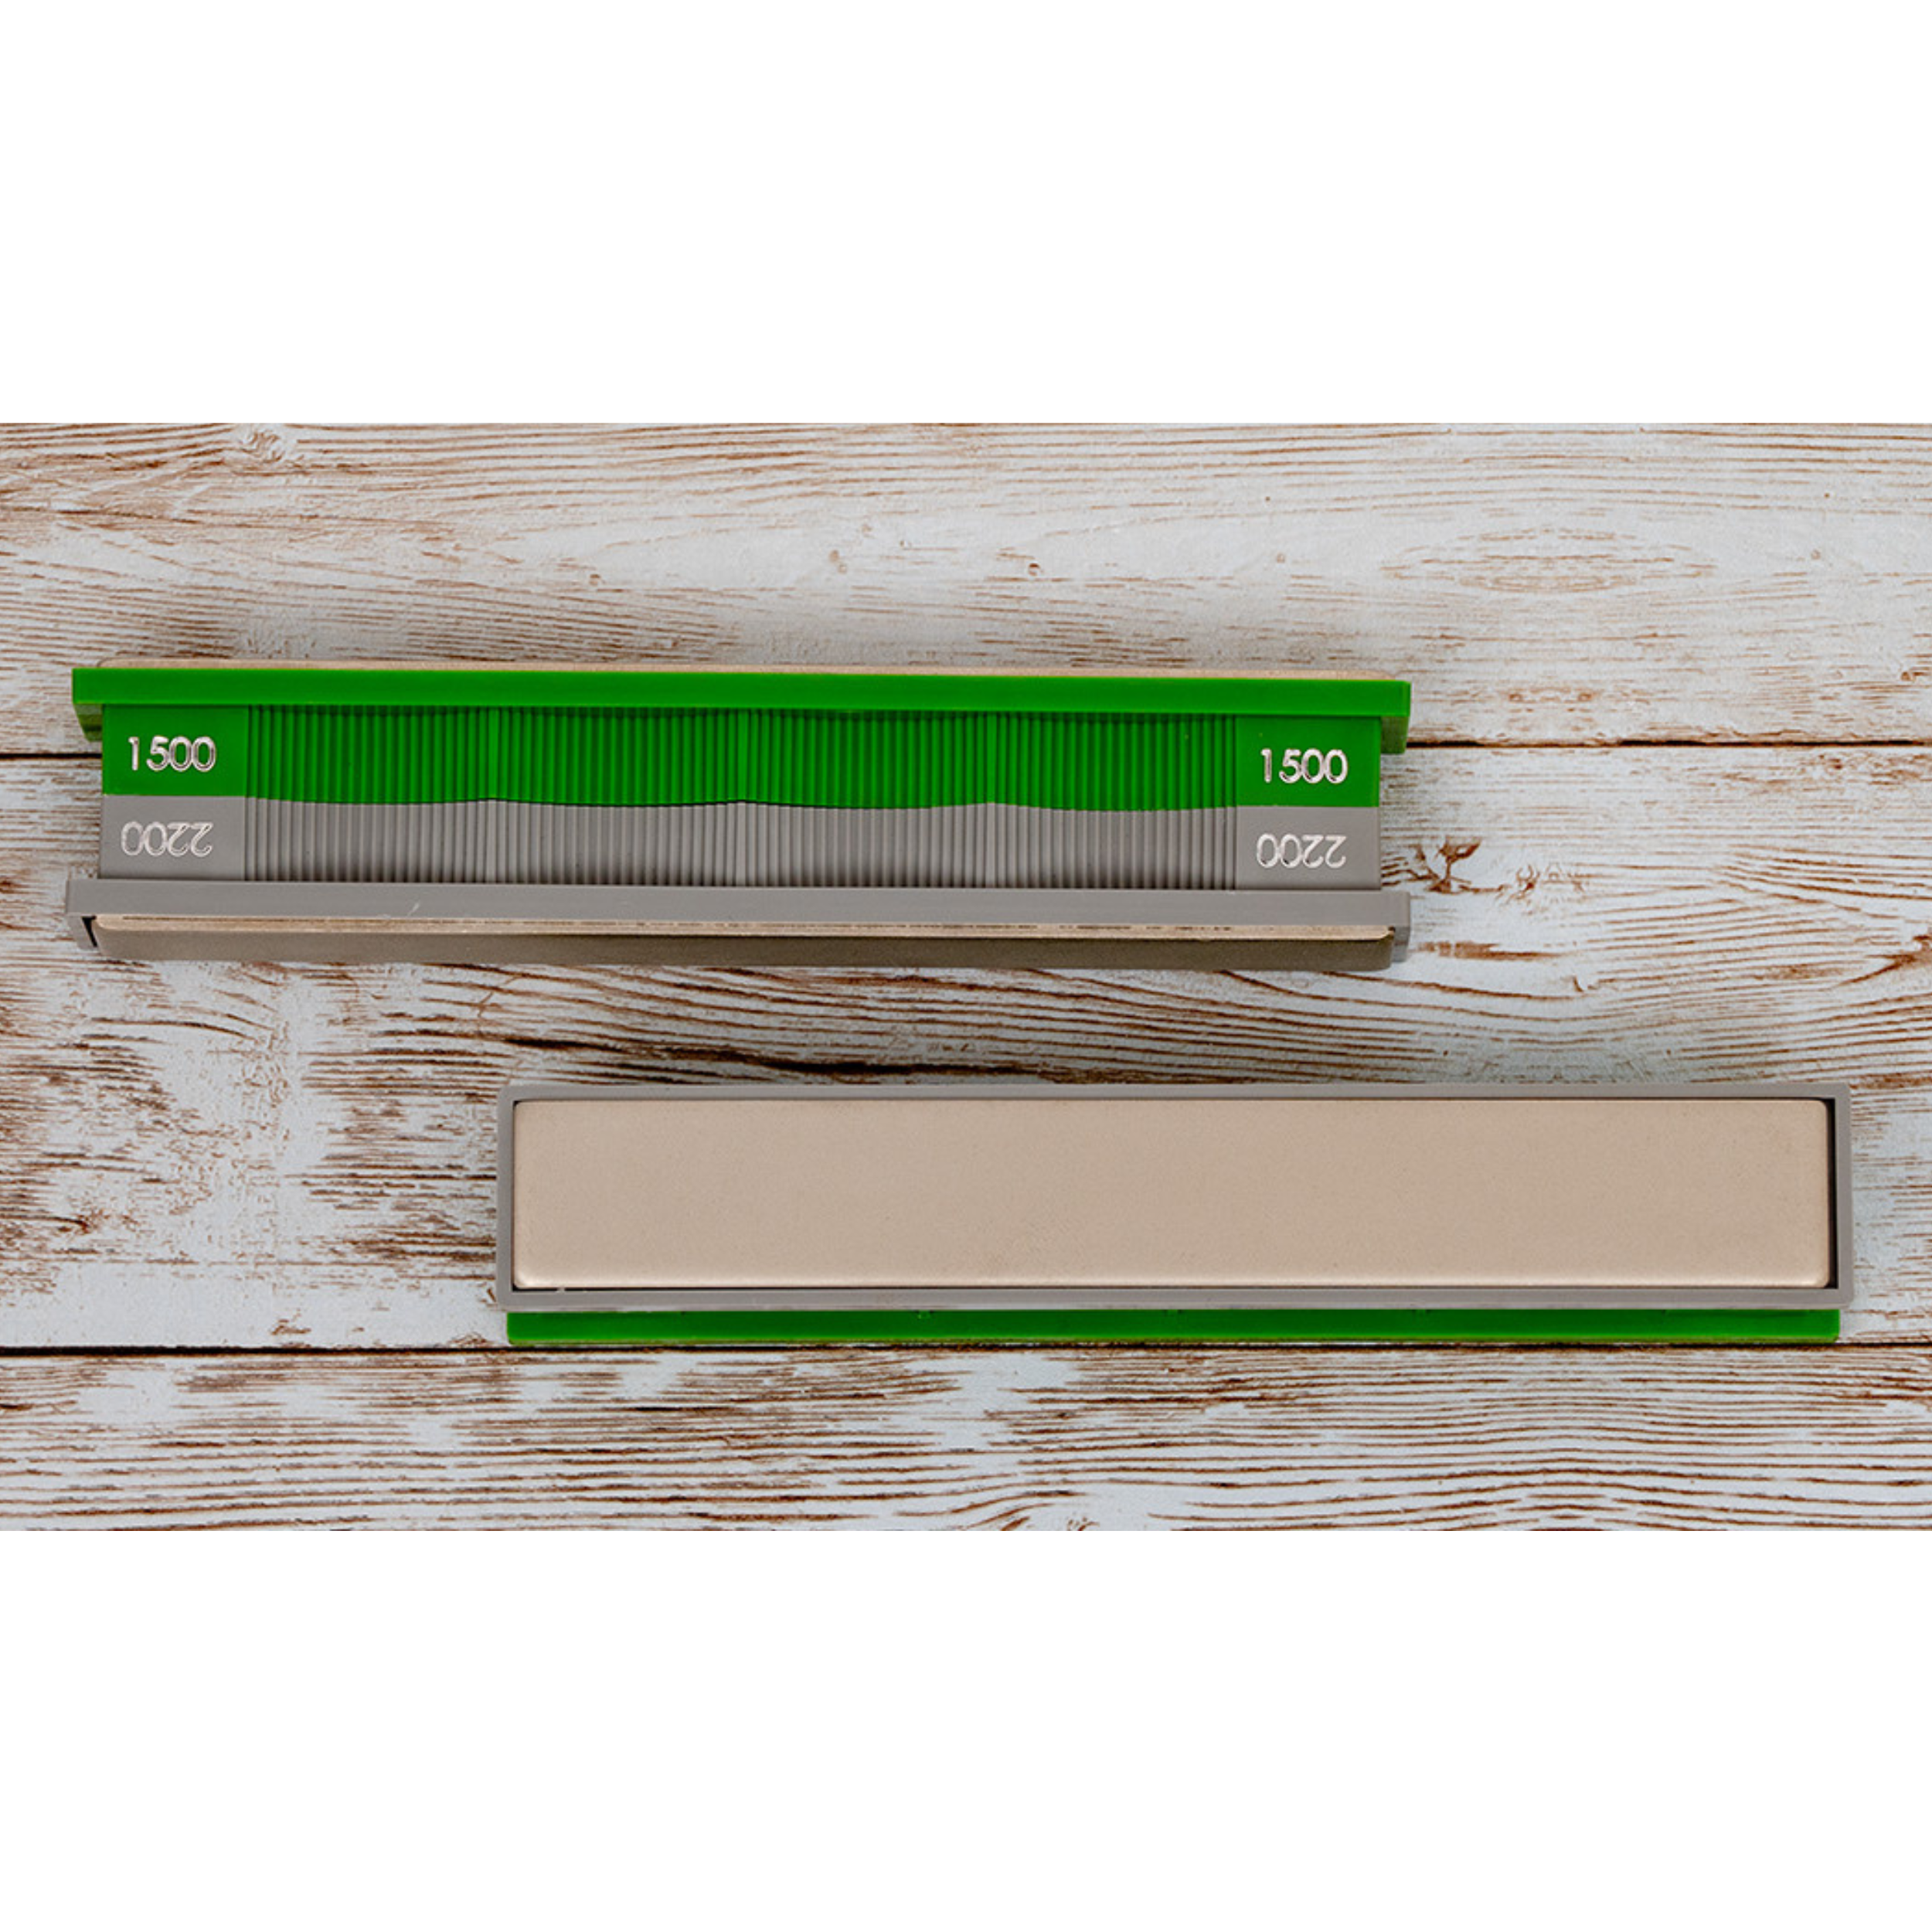
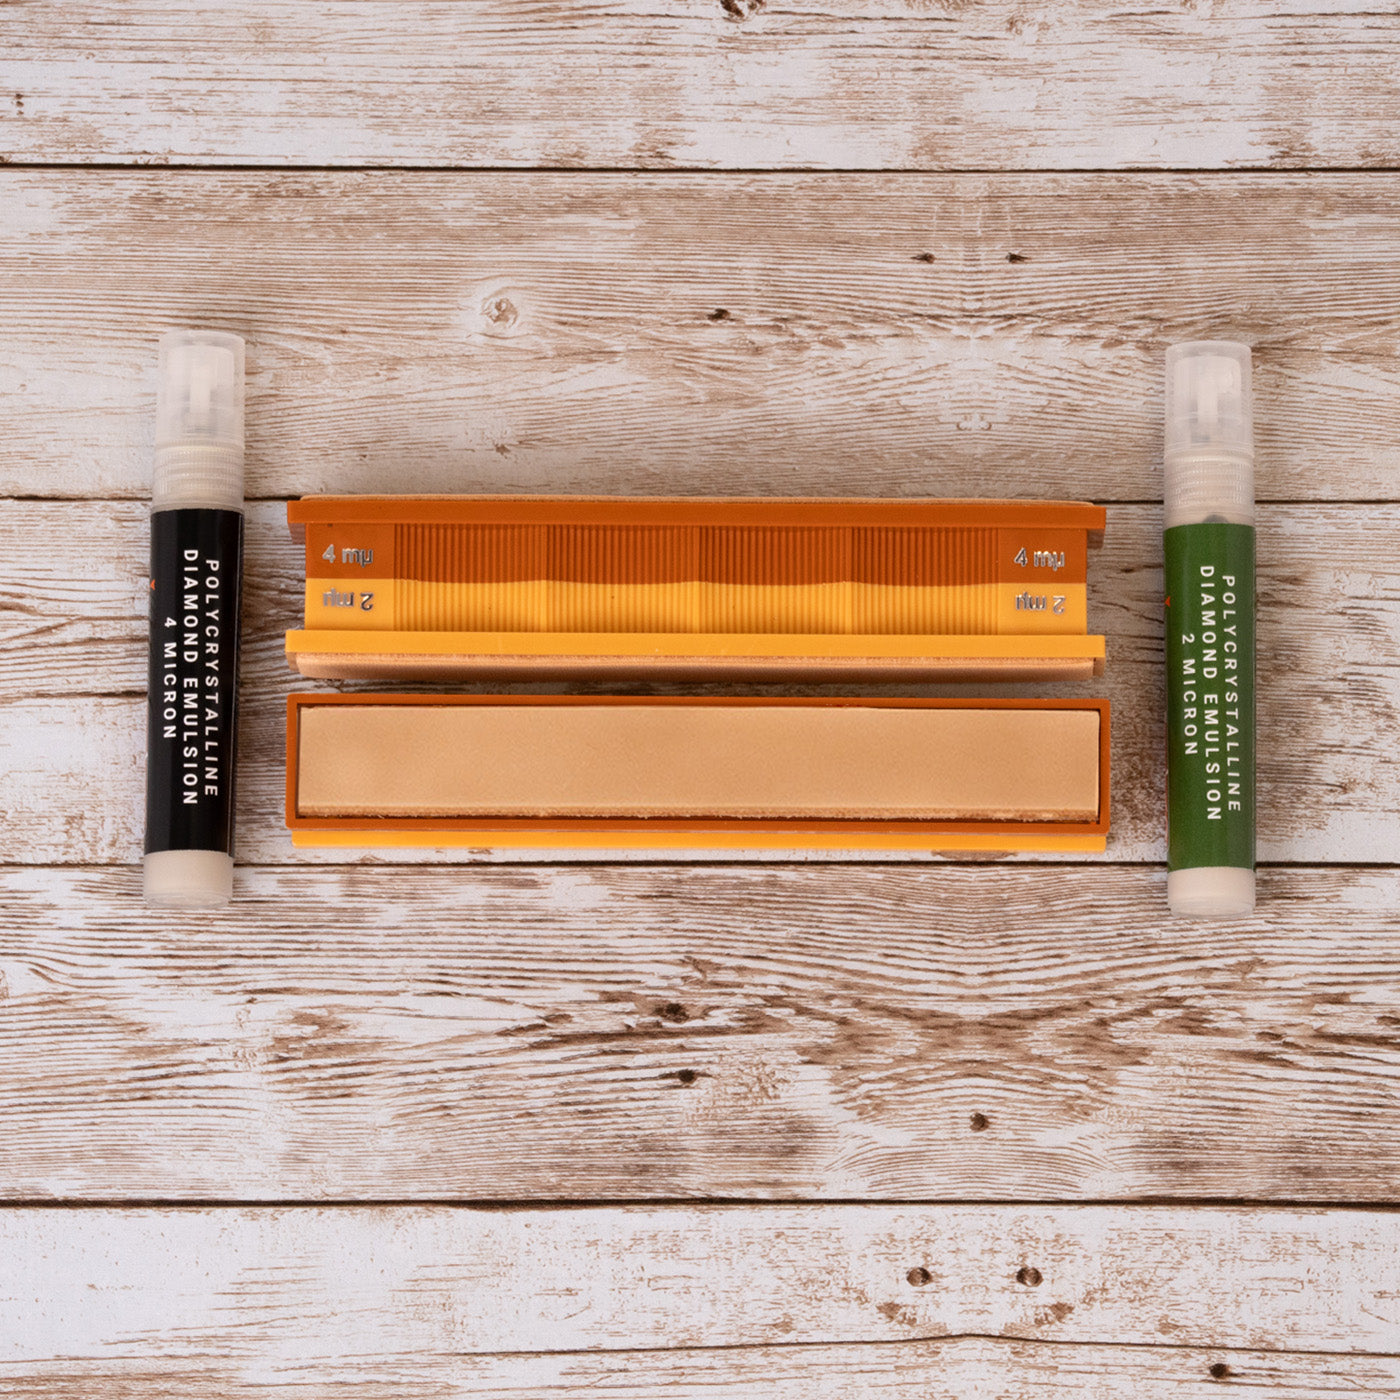
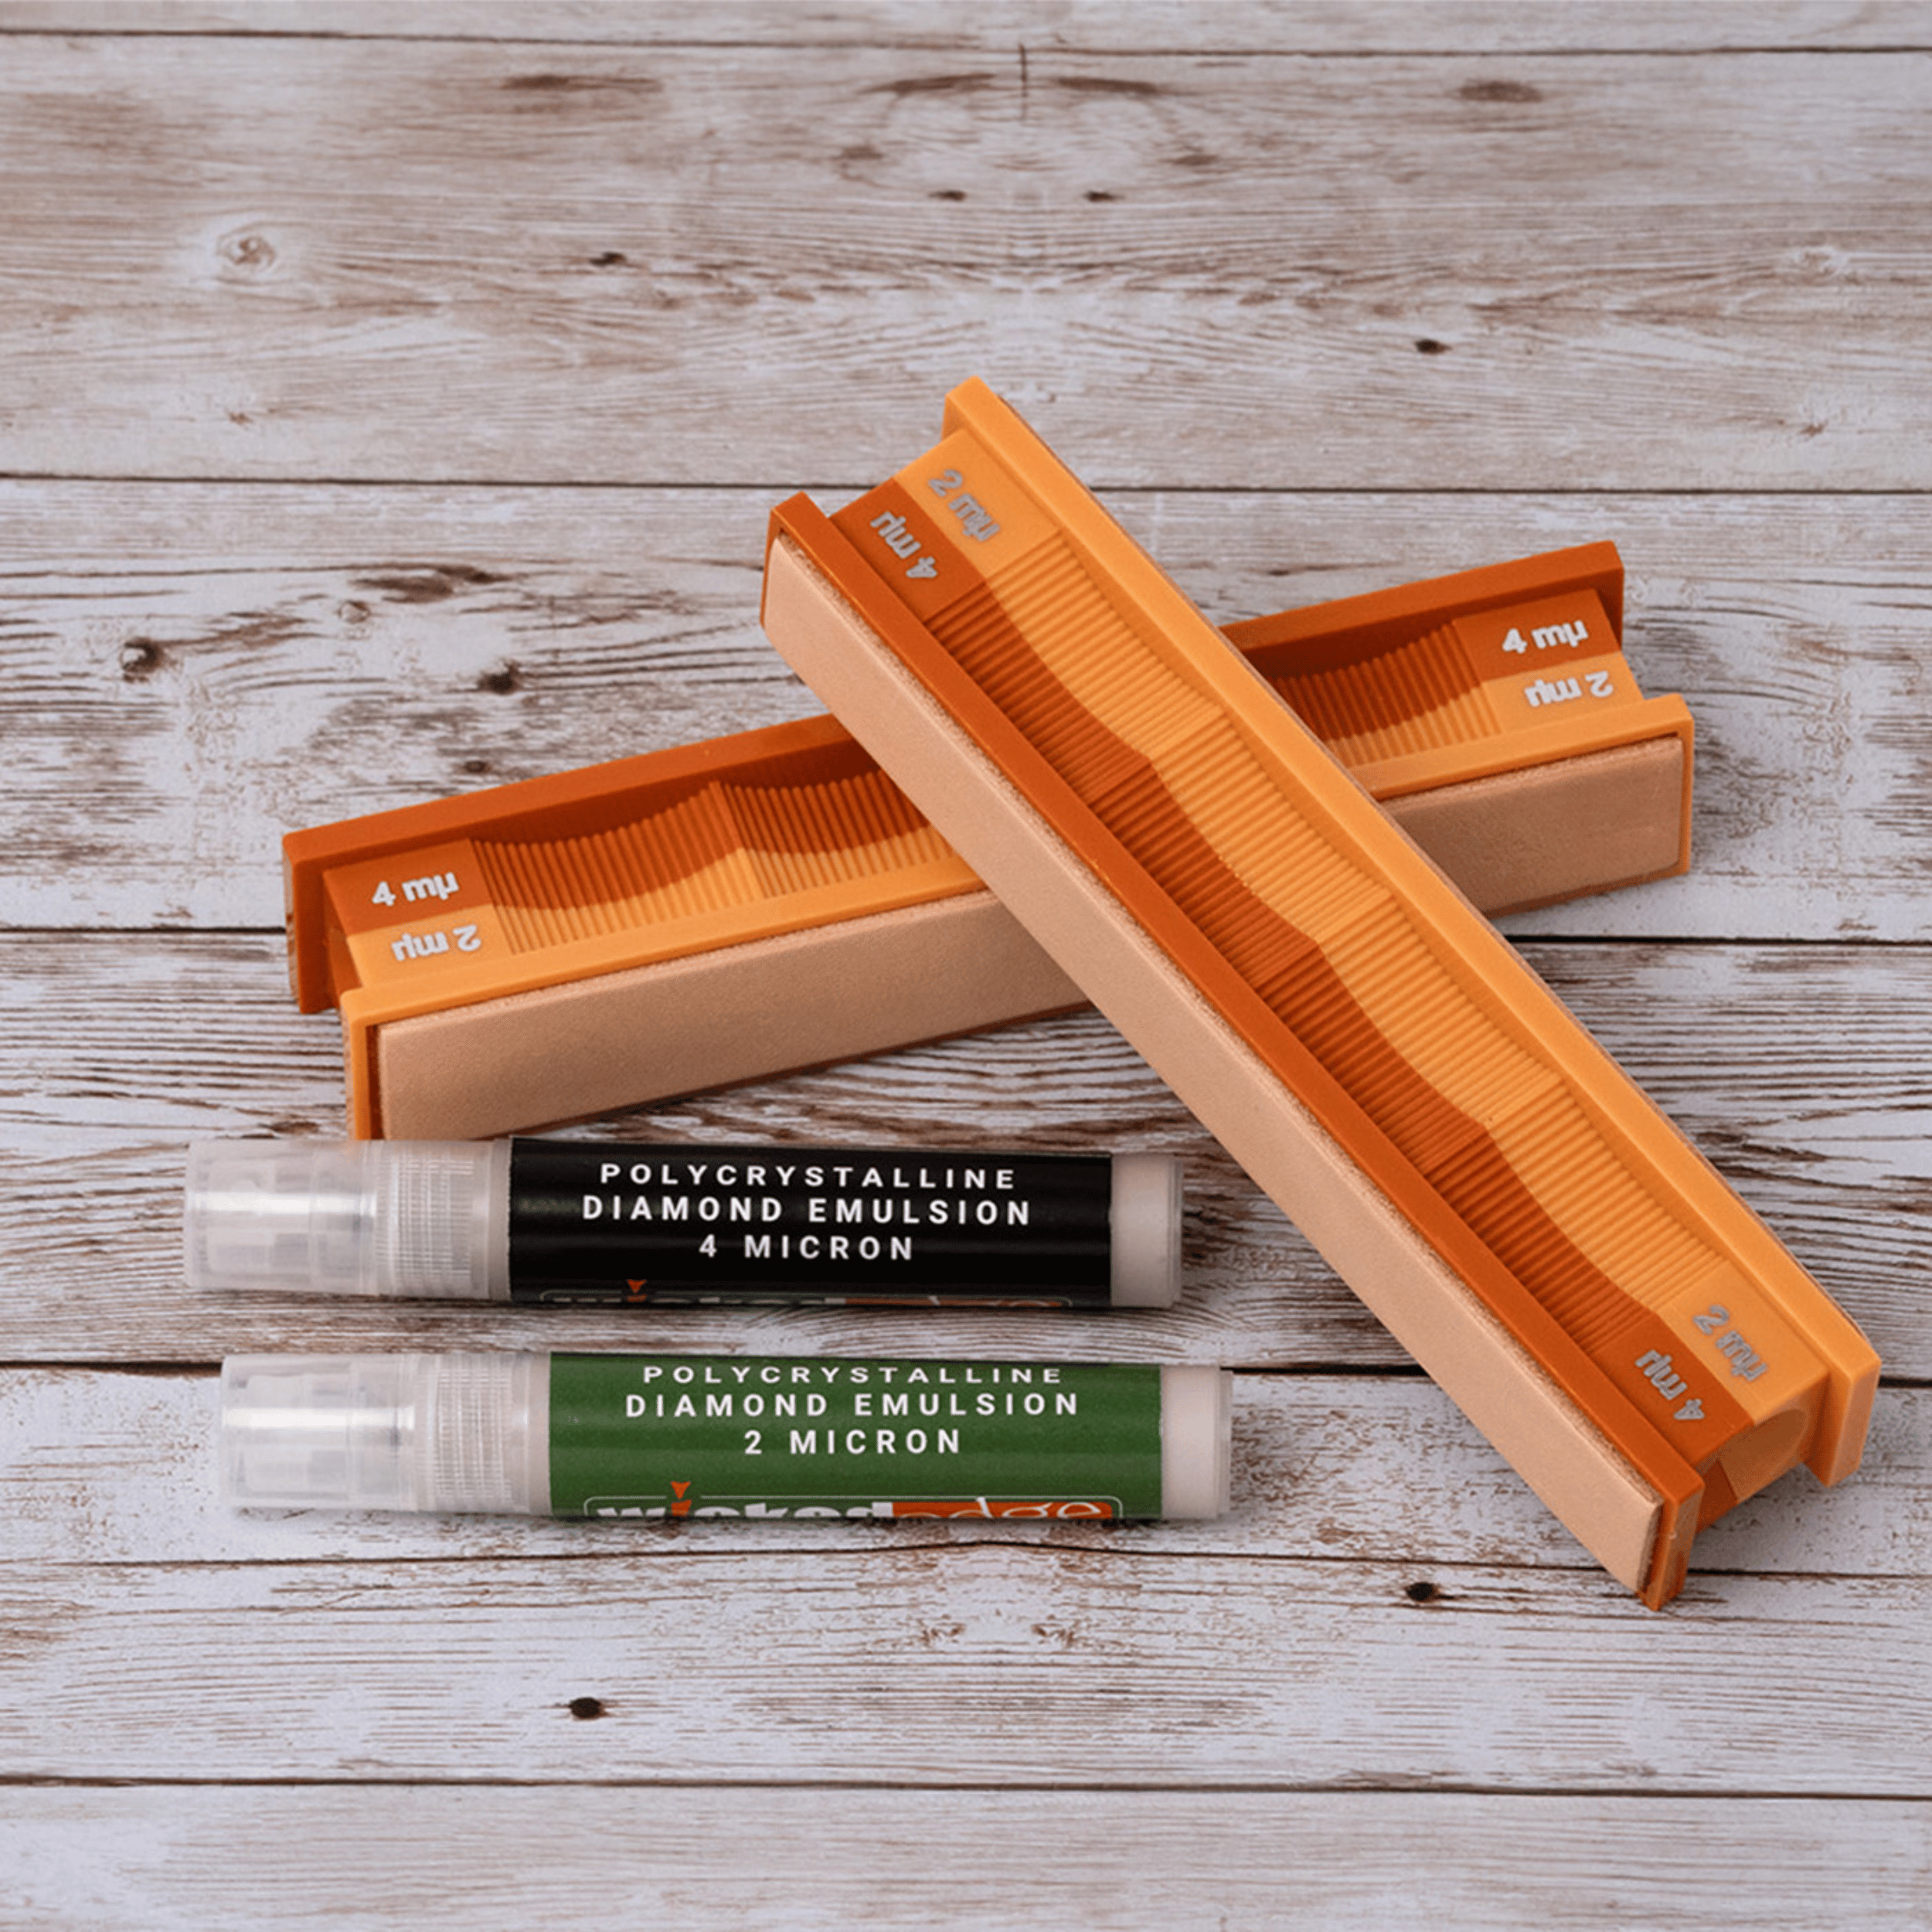
Diamond Stones
Wicked Edge Diamond Stones last up to 600 sharpening sessions, even when sharpening the hardest metals. Whether you're going for a tough, working edge or mirror polish, Wicked Edge has your back.
Top Sellers

Ready for Your Own Wicked Edge?